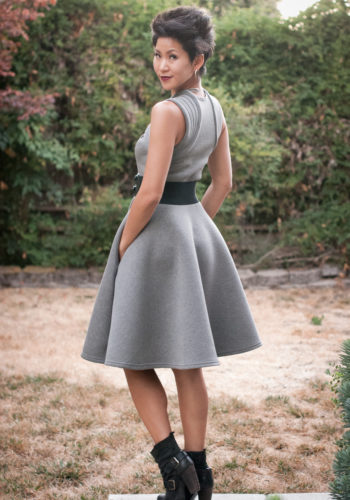
Cosplay Tutorial: Bombshell Batwoman
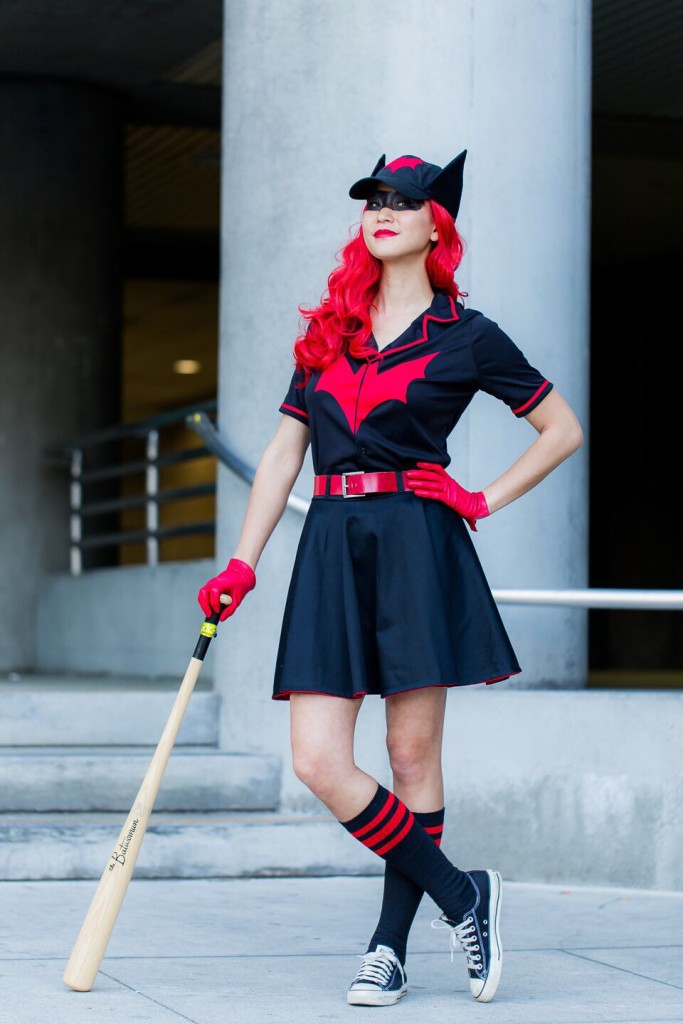
It’s unfortunate that with more complicated cosplays comes less time and as a result, I find myself doing less and less write-ups when it comes to how I made a costume. However, with all the complicated projects I’ve been working on lately, it’s nice to once in a while make something “easy” such as Bombshell Batwoman. This costume took me about 2 days to make and I had a blast wearing it. Read on to see how to make your own version!

Many of these pieces can be store bought (and now Hot Topic coincidentally has a whole Batwoman dress you can buy), but I opted to make as much of it as possible. Here are the items I purchased:
As for the costume, here are the pieces you’ll need to make.
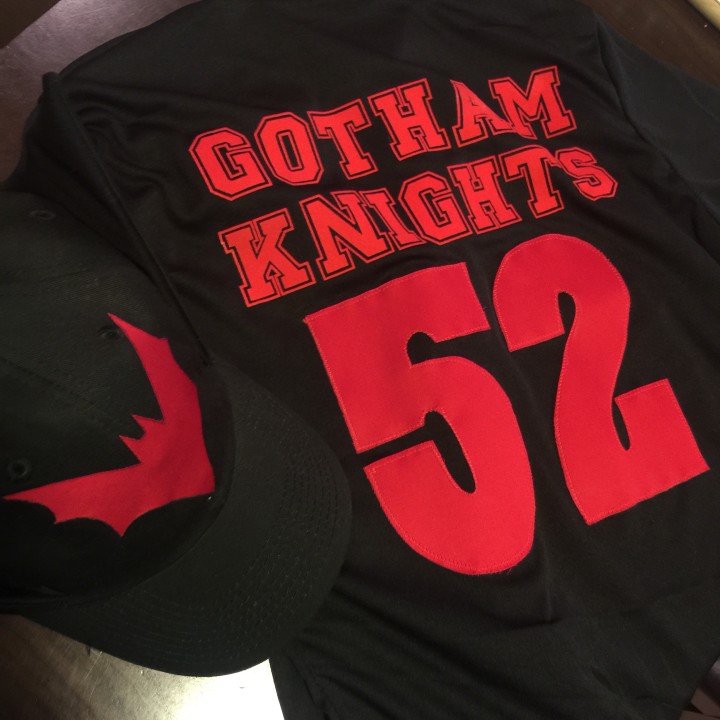
The shirt
So Batwoman’s shirt is sort of vintage, but not really. If you can find a black collared shirt with that style collar, then use that! I had no lucky so I decided to just make it from scratch. Although I saw some people go with a more stiff stretch cotton, I decided to go with a polyester knit since I wanted it to look like a material someone could actually play baseball in! I went with this ’80s collared shirt pattern that I happened to have and modified it to be much more fitted.
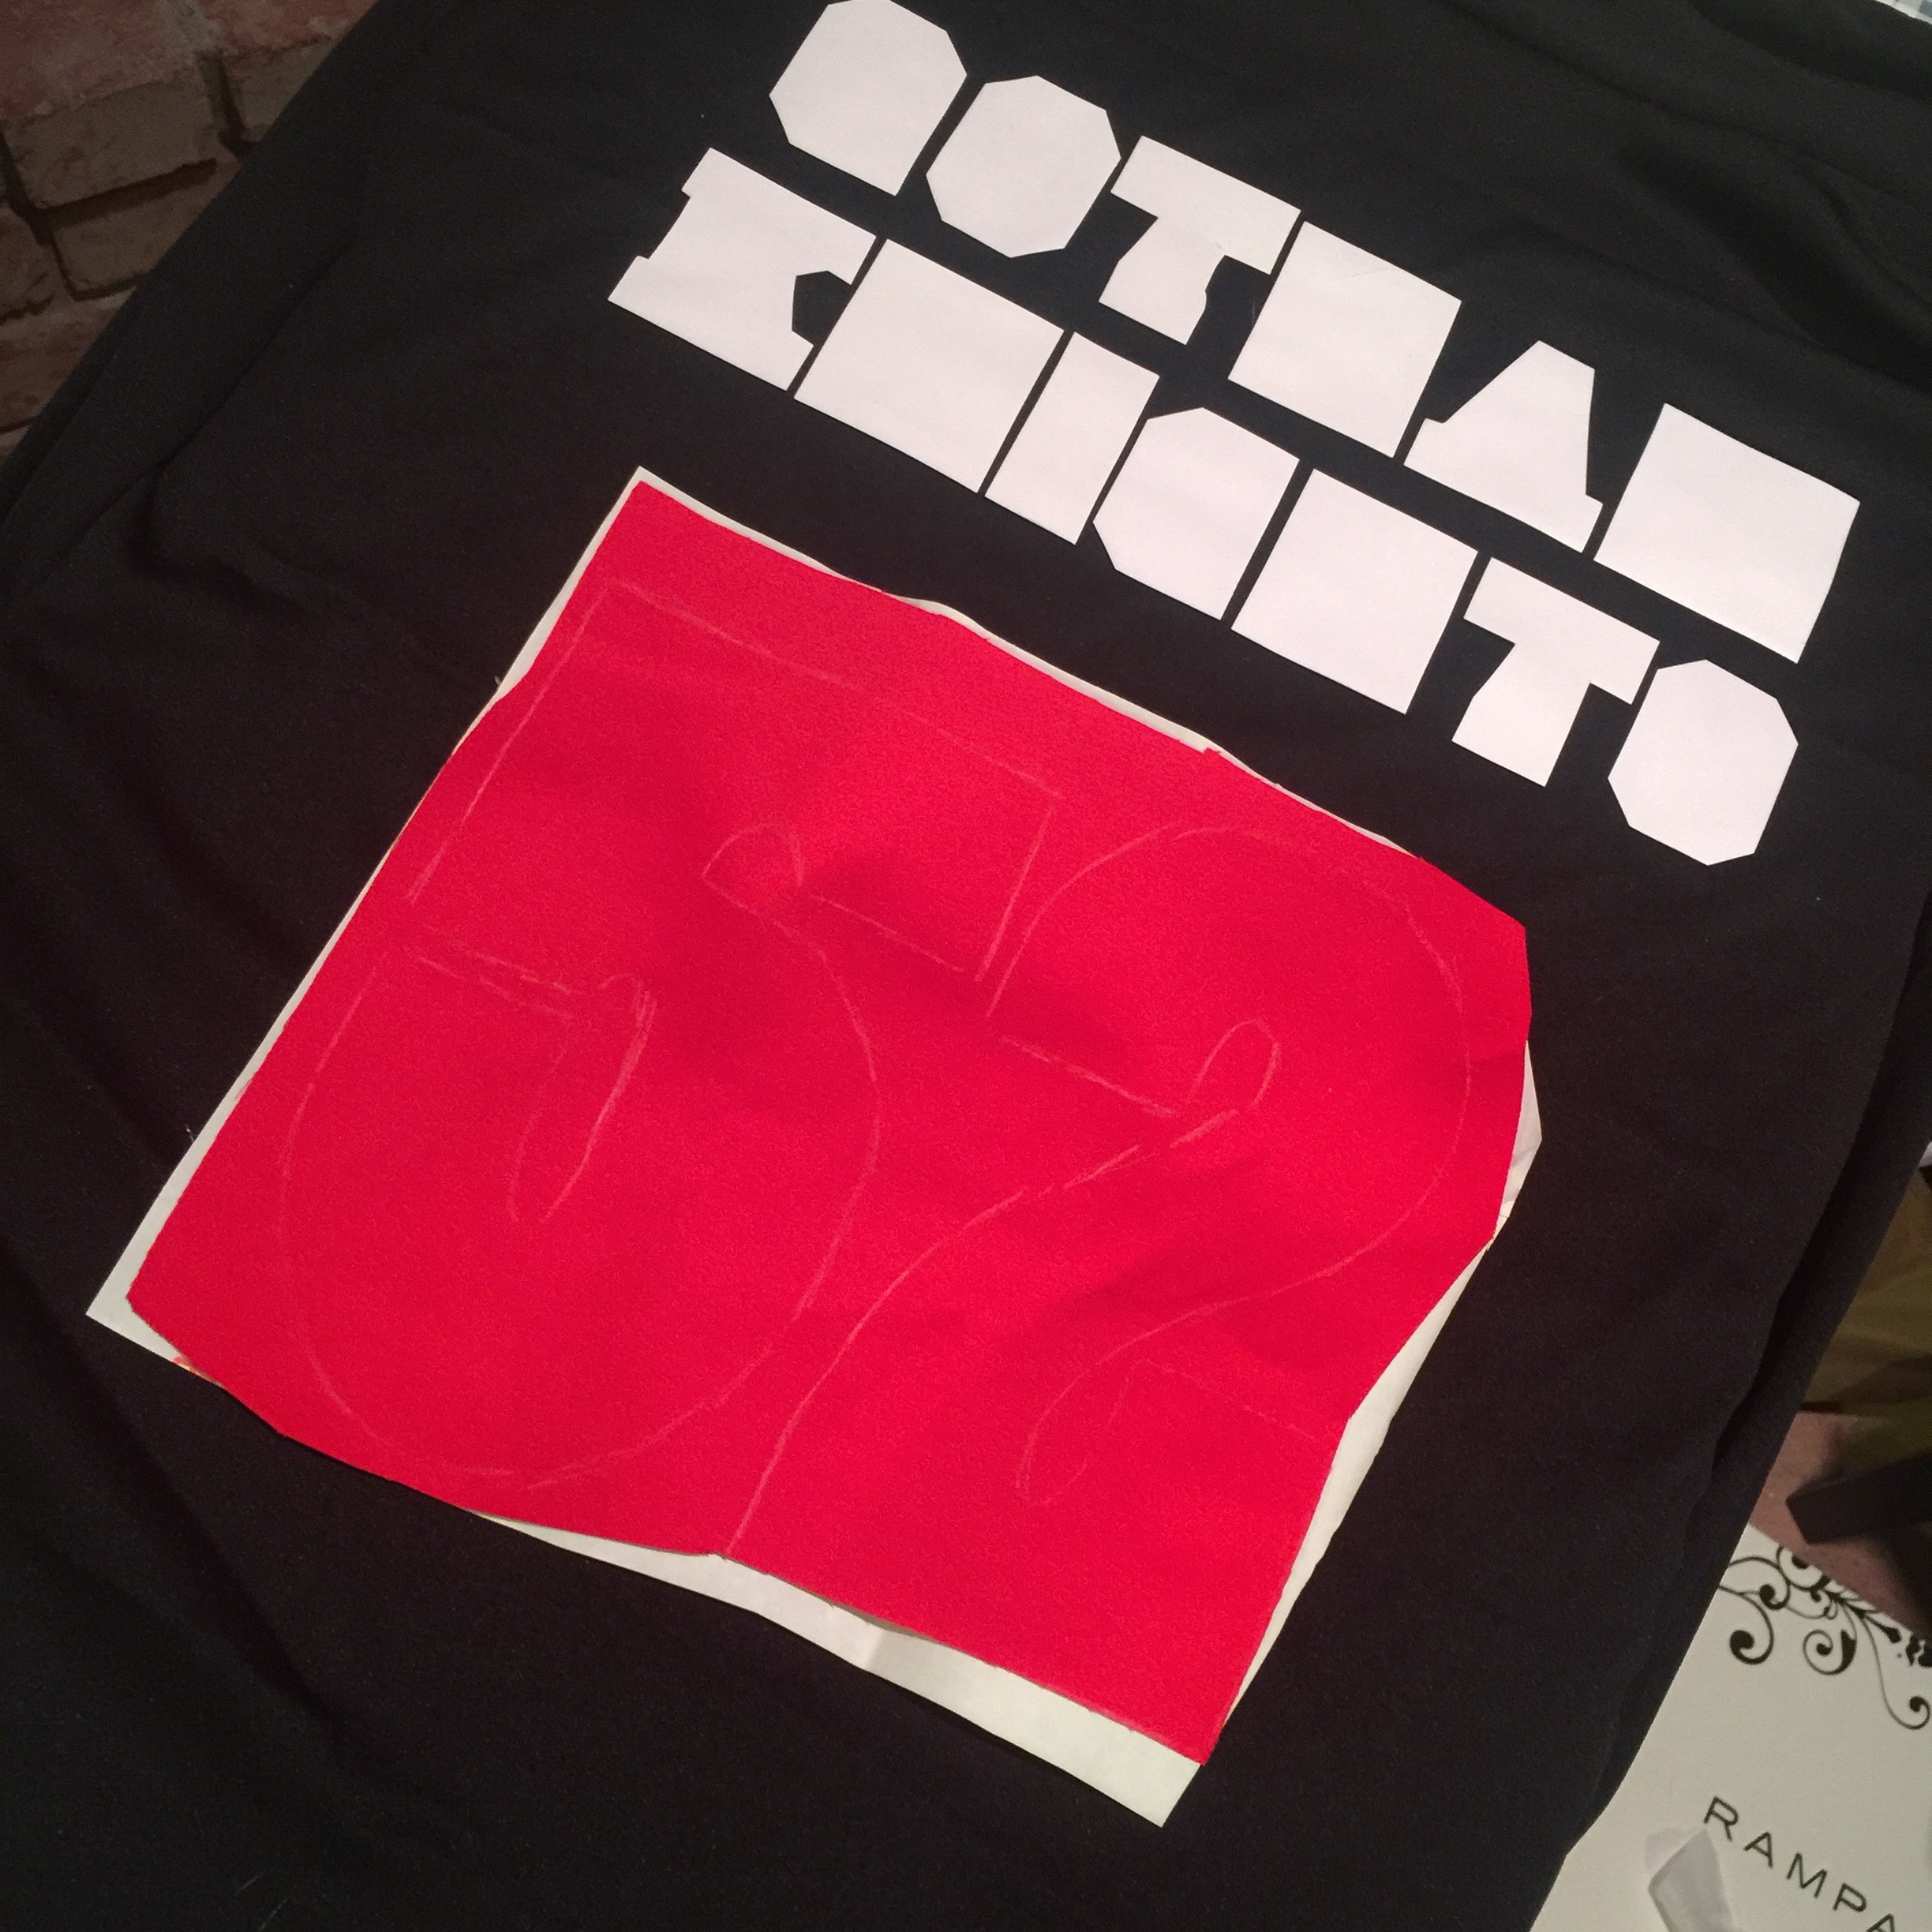
The appliqués were actually quite easy and really fun to put together. If you’ve never made your own appliqué, all you need is your fabric and Heat’n Bond. To make an appliqué:
- Cut out your paper template or whatever shape you want to trace
- Trace the shape onto your fabric (for eg. the red “52” in the photo below)
- Peel off one side of the Heat’n Bond wax paper and iron it onto the back of your fabric. Make sure this is larger than the shape (the “5” and “2”)
- Once everything cools, cut out the shape you traced (this should contain the fabric and the applied Heat’n Bond)
- Peel off the other side of the Heat’n Bond
- Iron the final piece onto your main fabric
- Optional – top stitch the appliqué
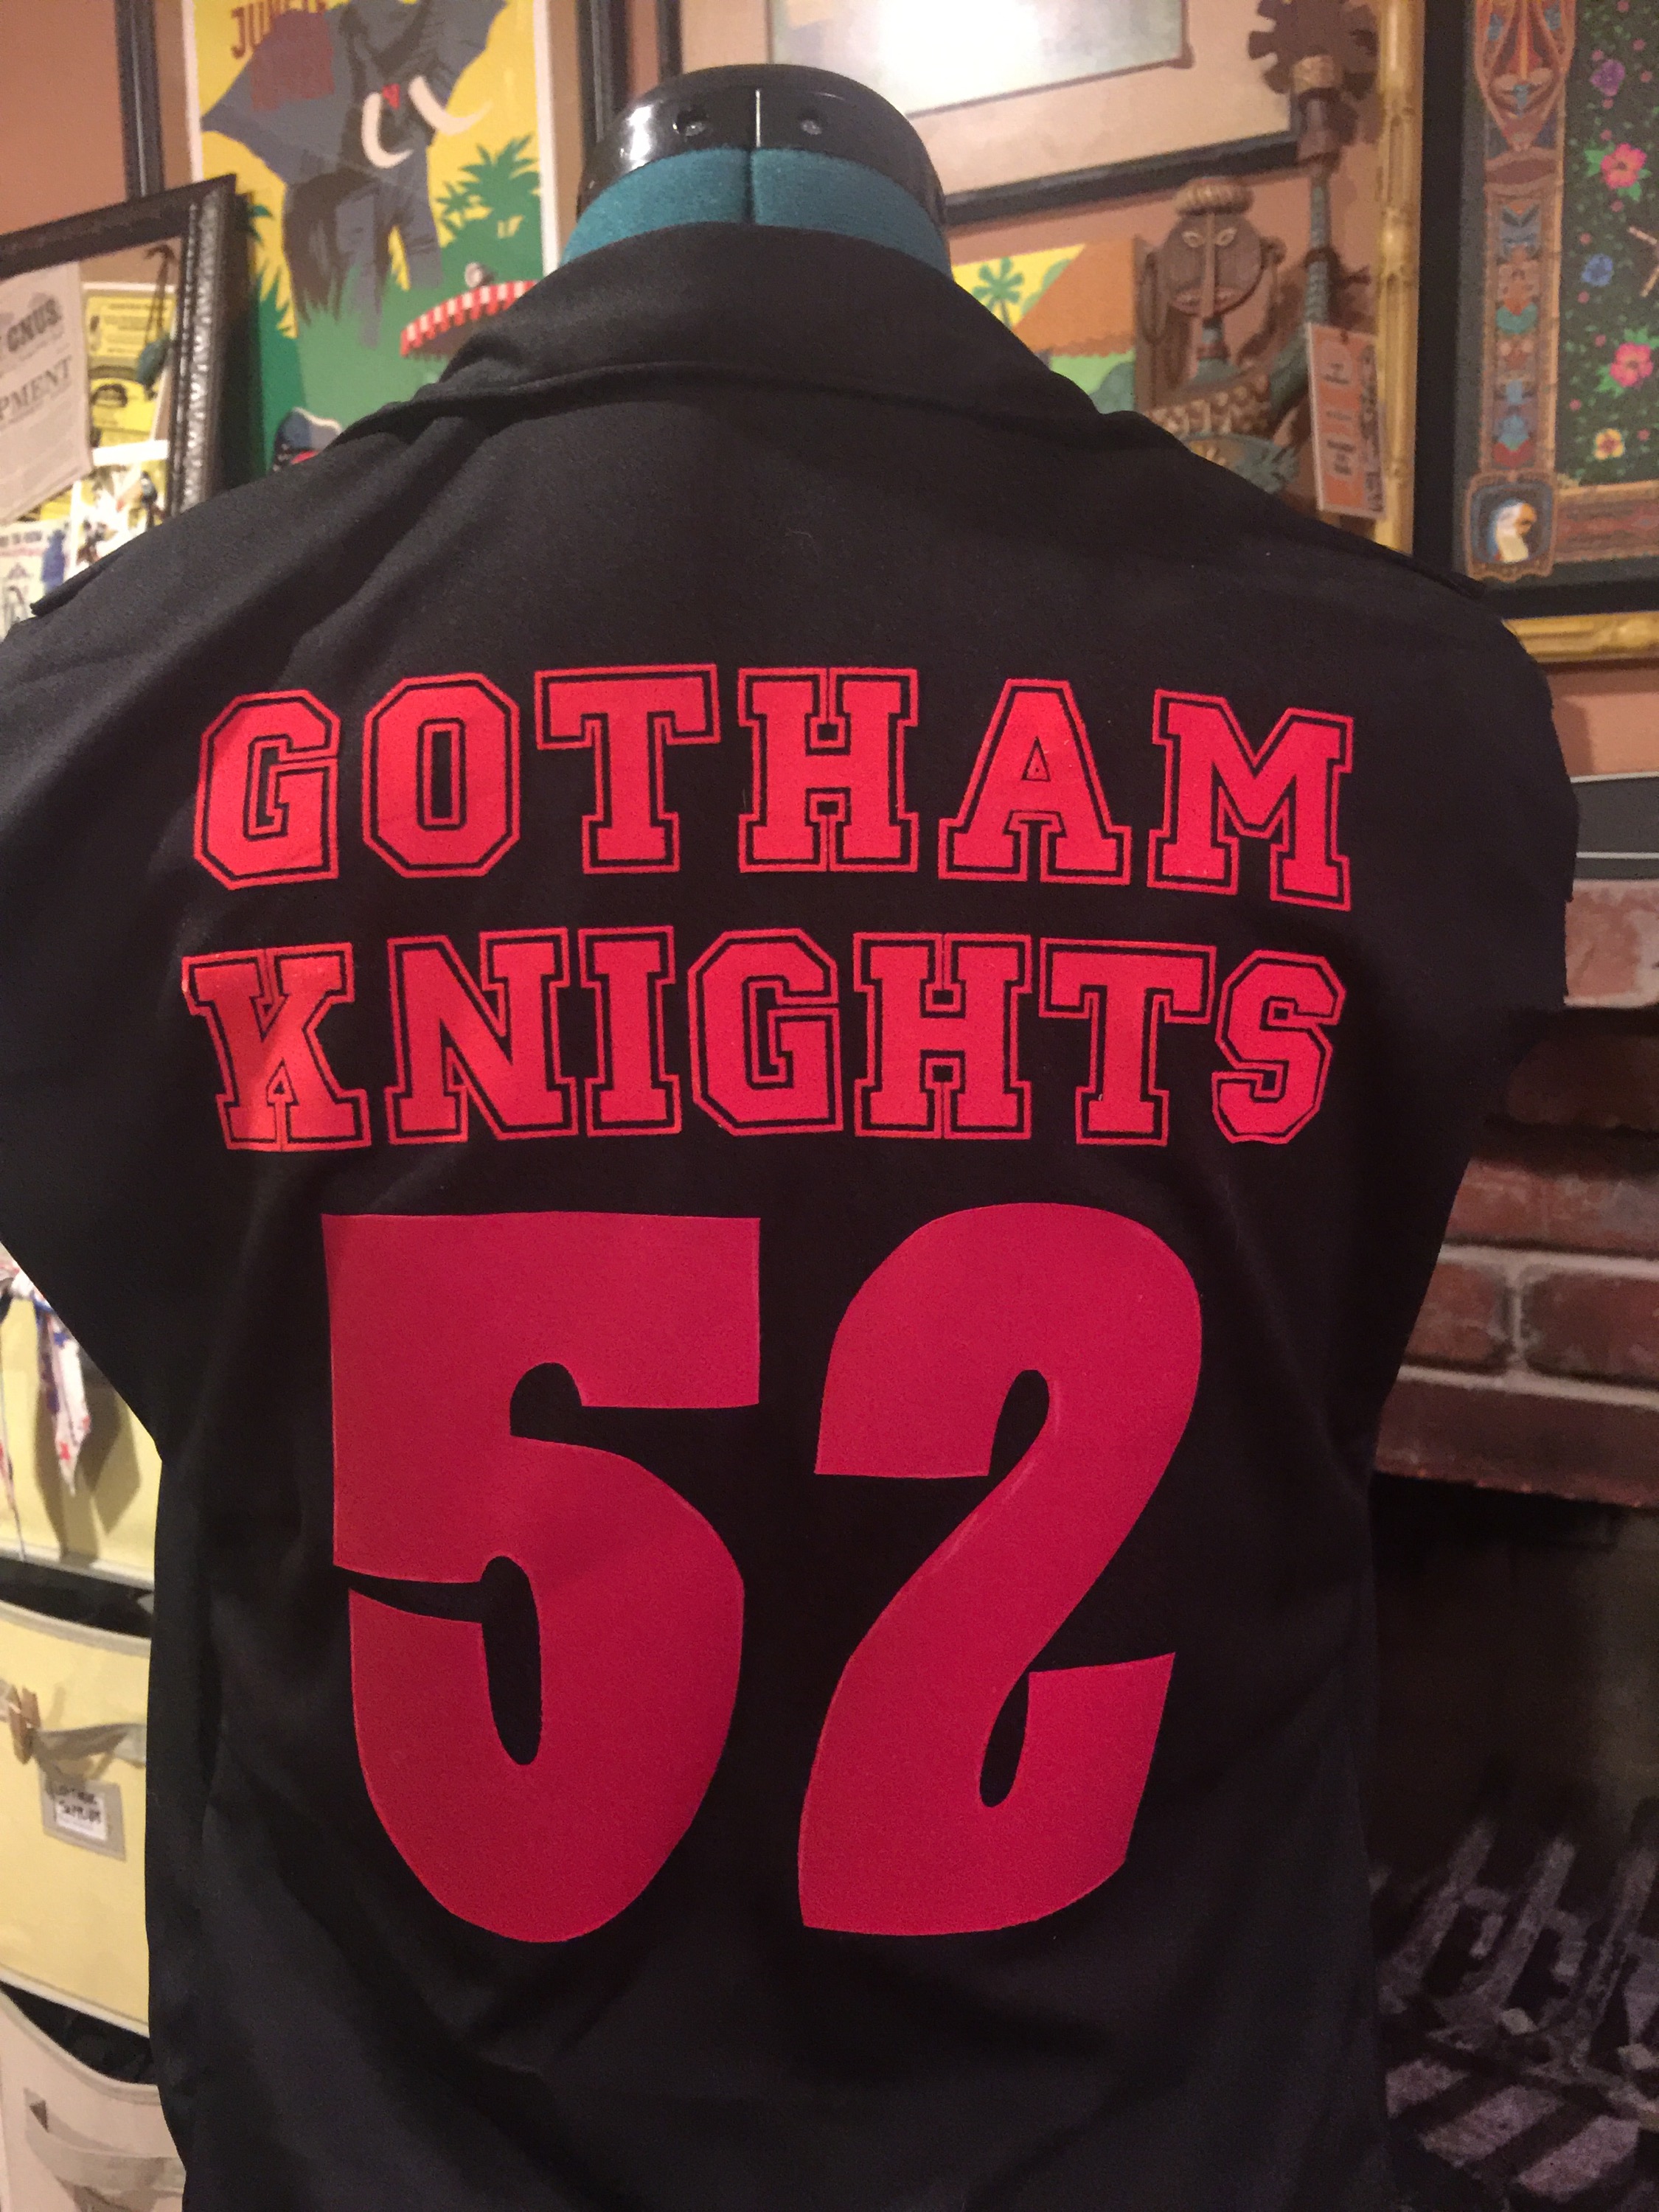
For the shirt, you will need a Batwoman logo appliqué for the front as well as a large number “52” for the back. The folks at DC were actually nice enough to make templates for this, which came in SO handy for the Bat logo. For the “Gotham Knights”, I purchased some red felt letters and carefully ironed those on – the tricky part of this is that the letters are backwards, but you want to make sure you spell left to right, not right to left!. For the red trim of the shirt, I used red bias tape and just stitched it on all the appropriate edges.
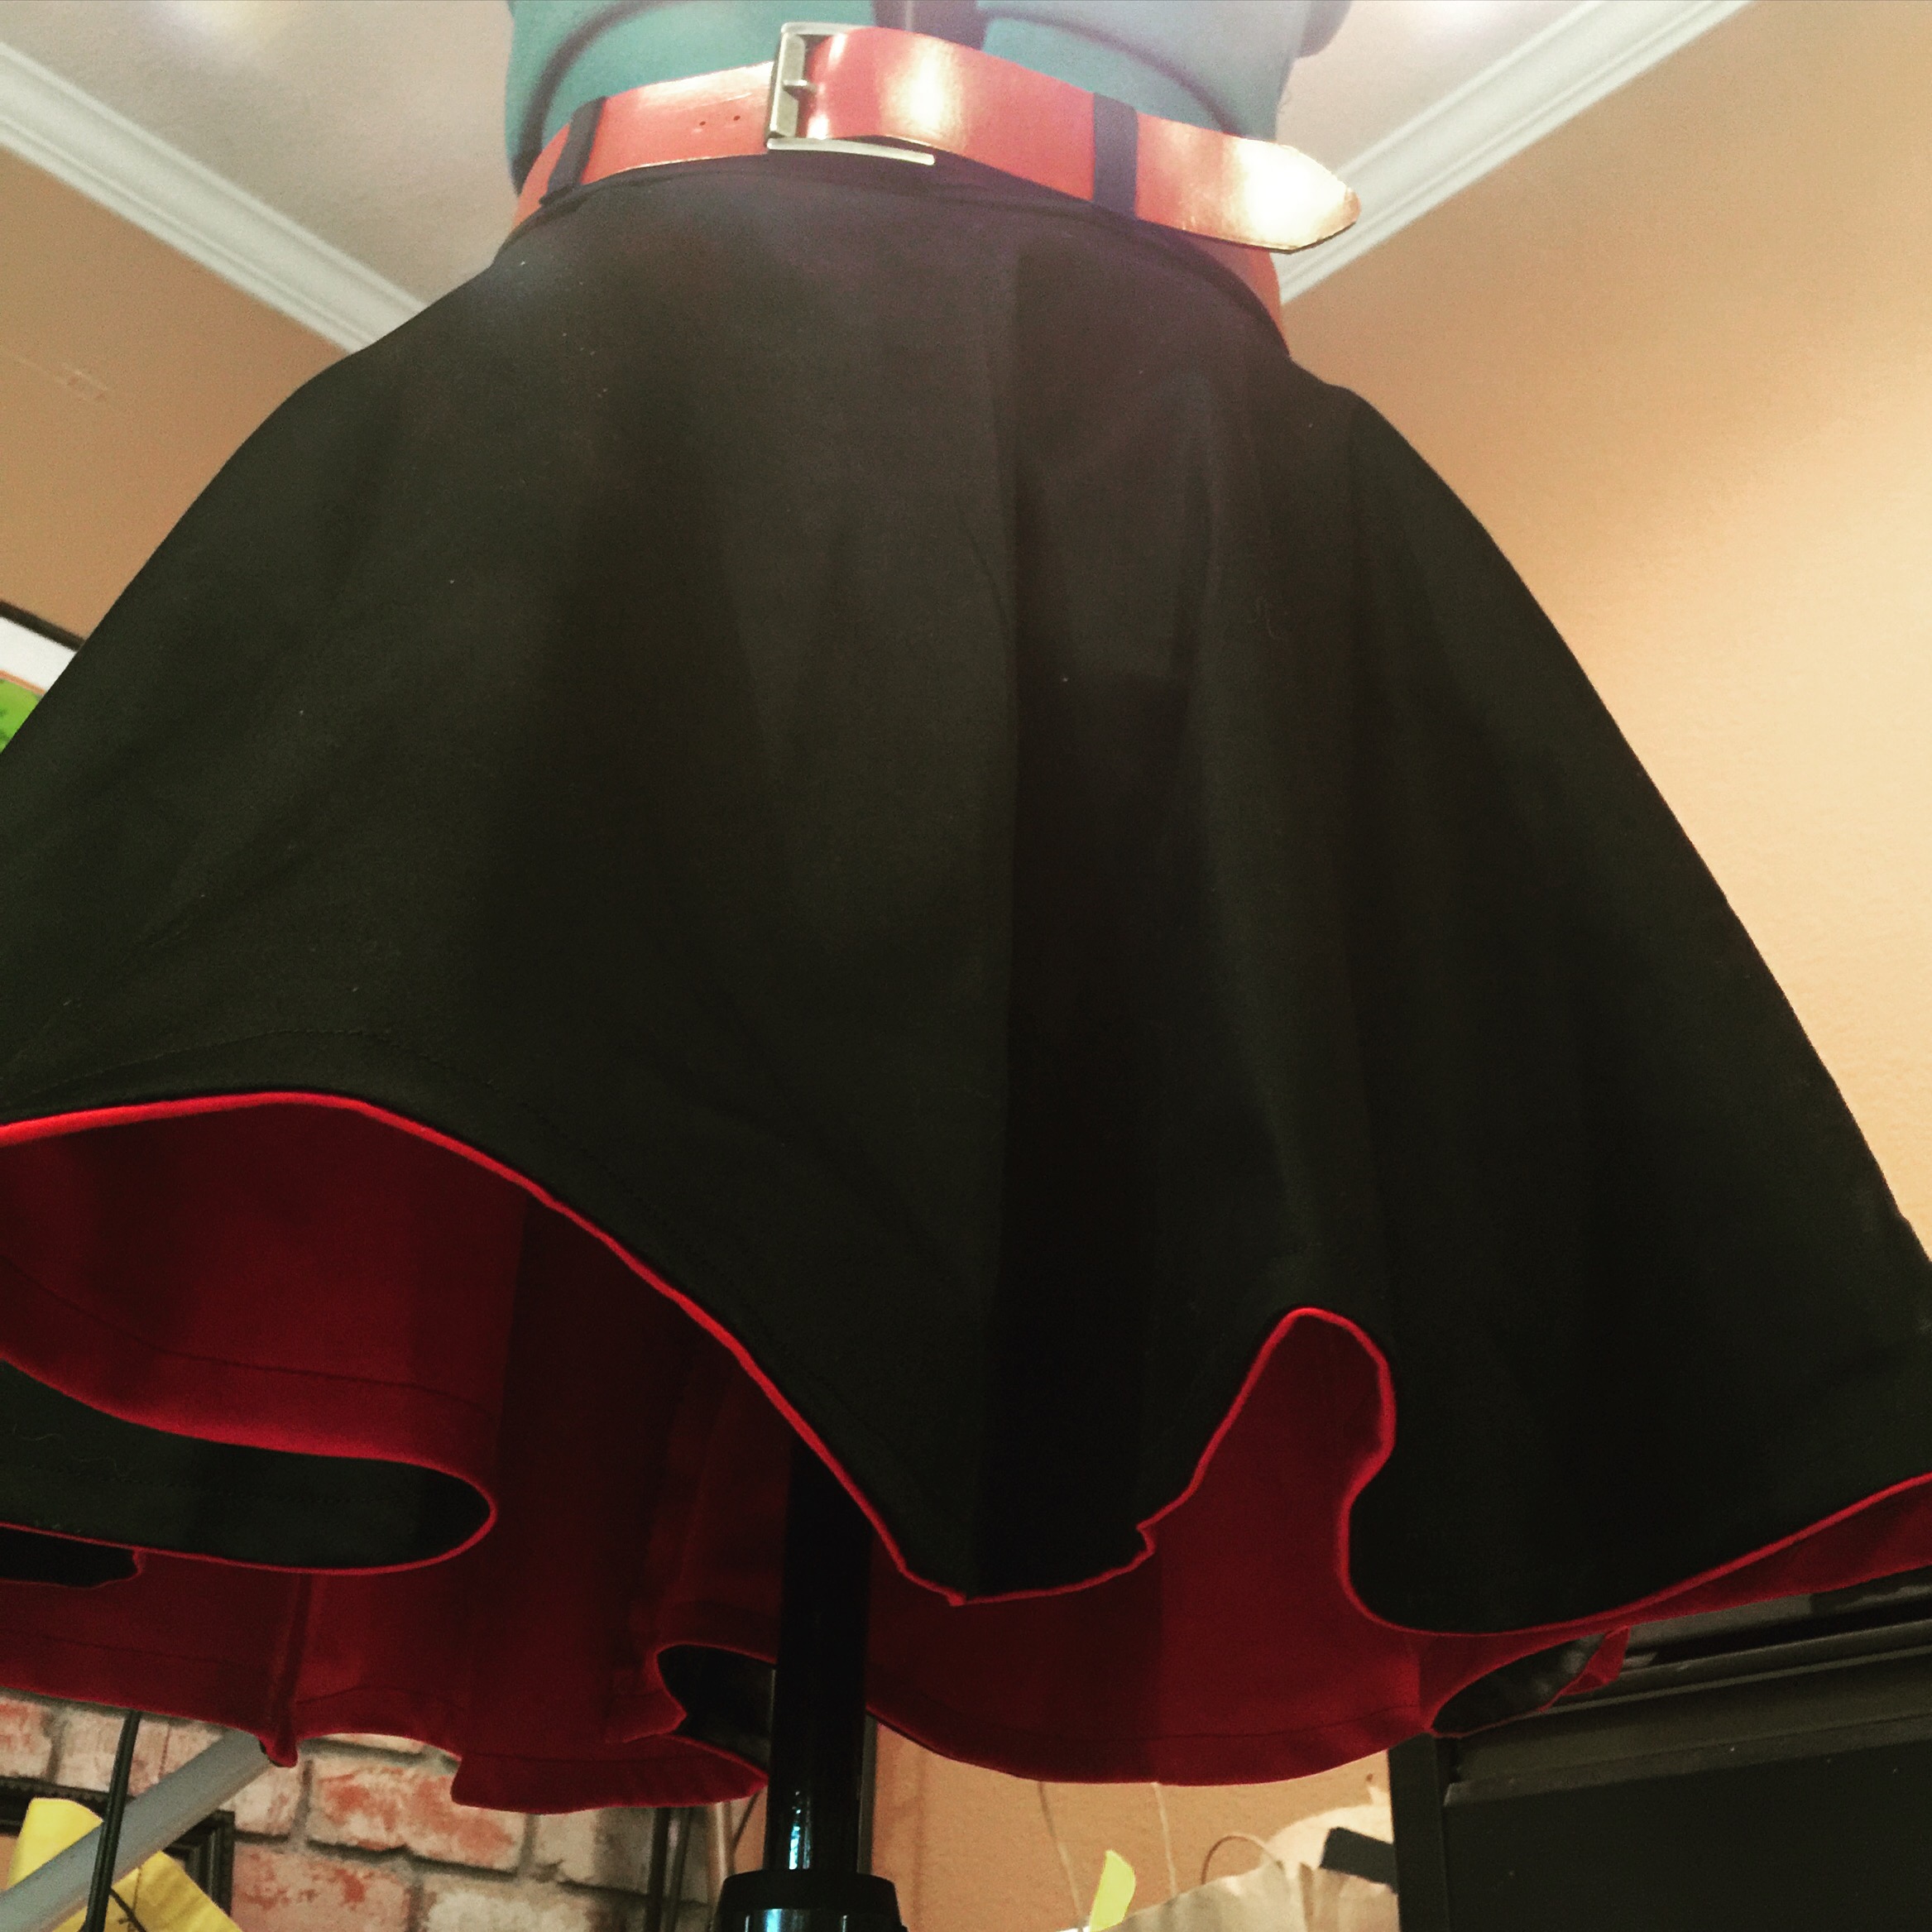
The Skirt
Batwoman’s skirt is really just a basic zipper circle skirt with one change – the underside needs to be red. I decided to go with a sheen red and black cotton since it had a nice sturdy feel to it. The only modification is that for the skirt part, you will want to sew the red and black pieces of the skirt together first, iron them flat and top stitch along the hem. This will create that nice bright red underside when you’re moving. After that, make your waist band (with or without belt loops), attach the zipper and you’re good to go!
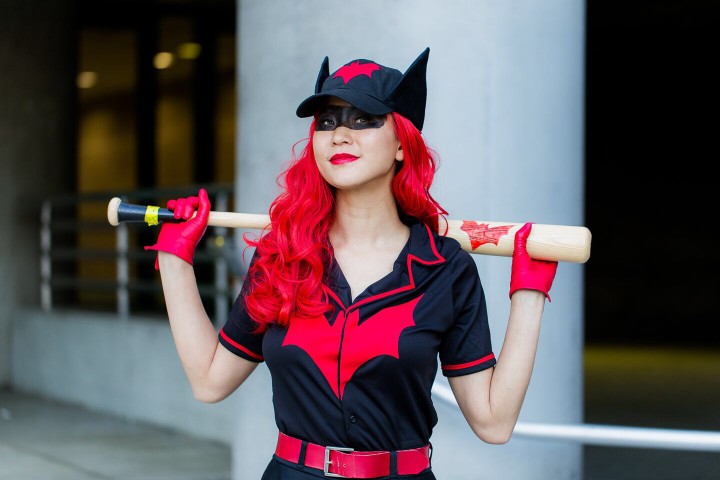
The Hat
Again, DC provided this great Bat logo template, which I just sized down to fit the hat. The ears on the hat were made of the same fabric as the skirt, with a layer of foam in the middle. I sewed these on to the hat and glue gunned part of the top to make sure they stood upright.
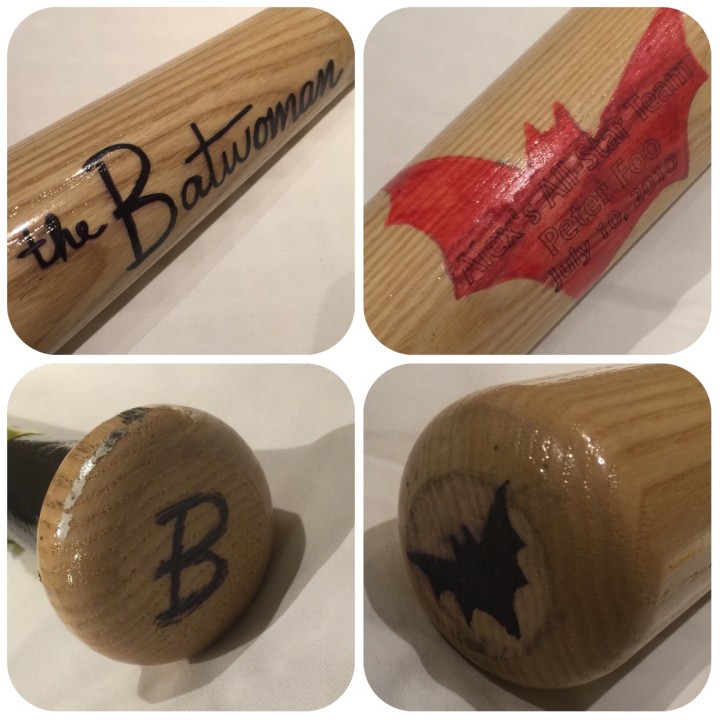
The Bat
Last but not least is her signature piece, the bat! All you need is a little black paint and a sharpie to customize this fun prop. And here’s a tip – practice your batting pose since you’ll definitely be taking a lot of photos holding this!
Lastly, have fun wearing this! This is such a fun costume to wear and if you can find some friends to do a group, even better! Hope this tutorial was helpful and let me know if you have any questions!


5 Comments
B
I love the bat! All the little details really add up.
Wendy Etter
Hi Emilyo, I am making the Bombshell Batwoman costume for my daughter. My question is on the shirt I don’t see buttons on the bat applique. Did you hide the buttons or did you use a zipper?
emilyo
I hid the button under the appliqué. But I think a hidden zipper would work great too!
Moose
Hi, do you have by any chance the name or the composition of your cotton and your knit polyester? I’m struggling finding the good ones
emilyo
It’s a really basic black polyester knit from jo-anns. I would check there!