DIY: Adventure Time Finn Backpack Tutorial
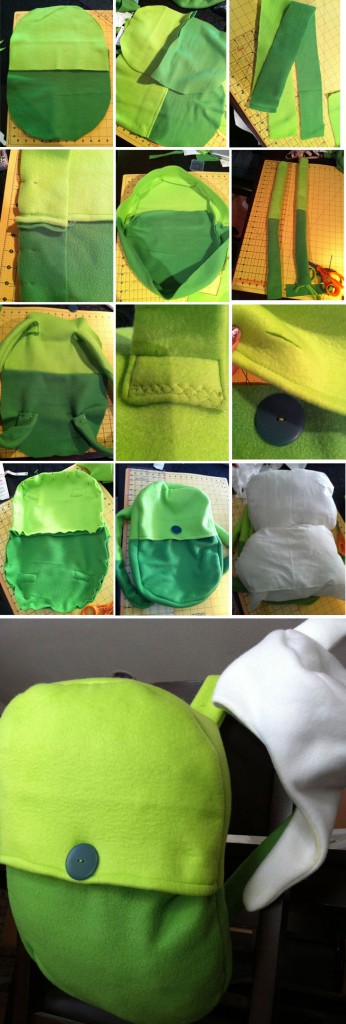 Although I didn’t intend on dressing up as Finn for Halloween, after I made the Finn hat, I just couldn’t stop. I mean, what’s a Finn hat without a handy Finn backpack? This minimal costume/cosplay was fun to make, fun to wear, and I can’t wait to wear it to my next con! With that, here’s a lengthy tutorial on how to make your own Finn backpack.
You will need:
- 1 yard of light green fabric (I recommend using fleece)
- 1 yard of dark green or medium green fabric
- Large green button
- Estimated time: about 2-3 hours
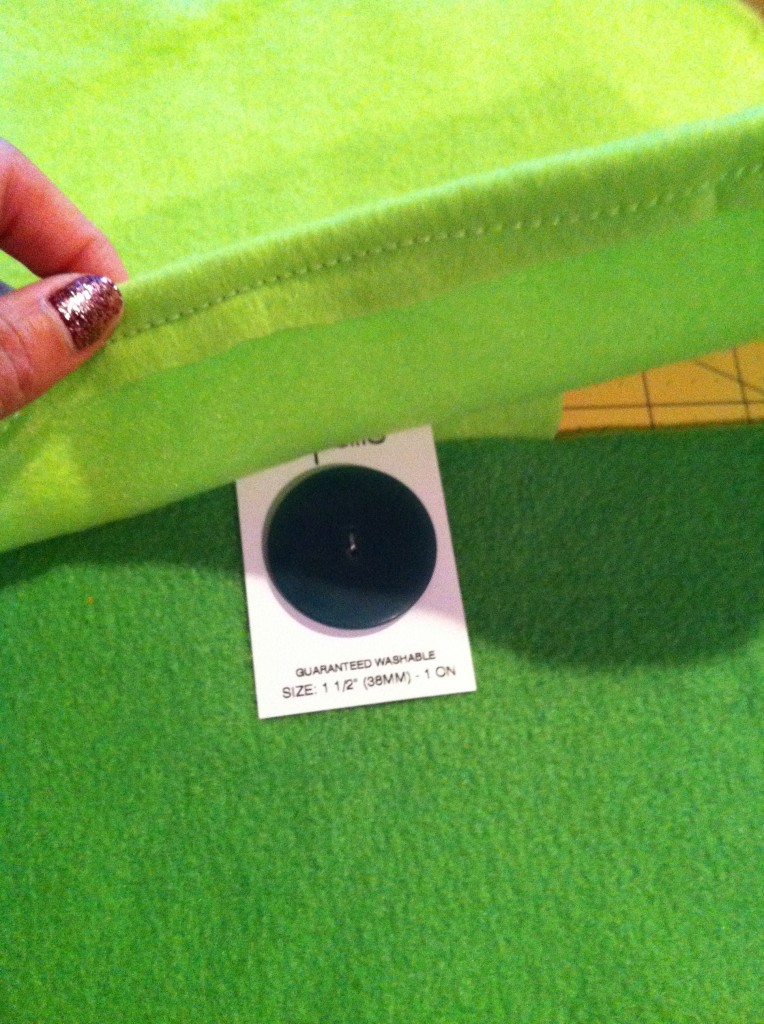
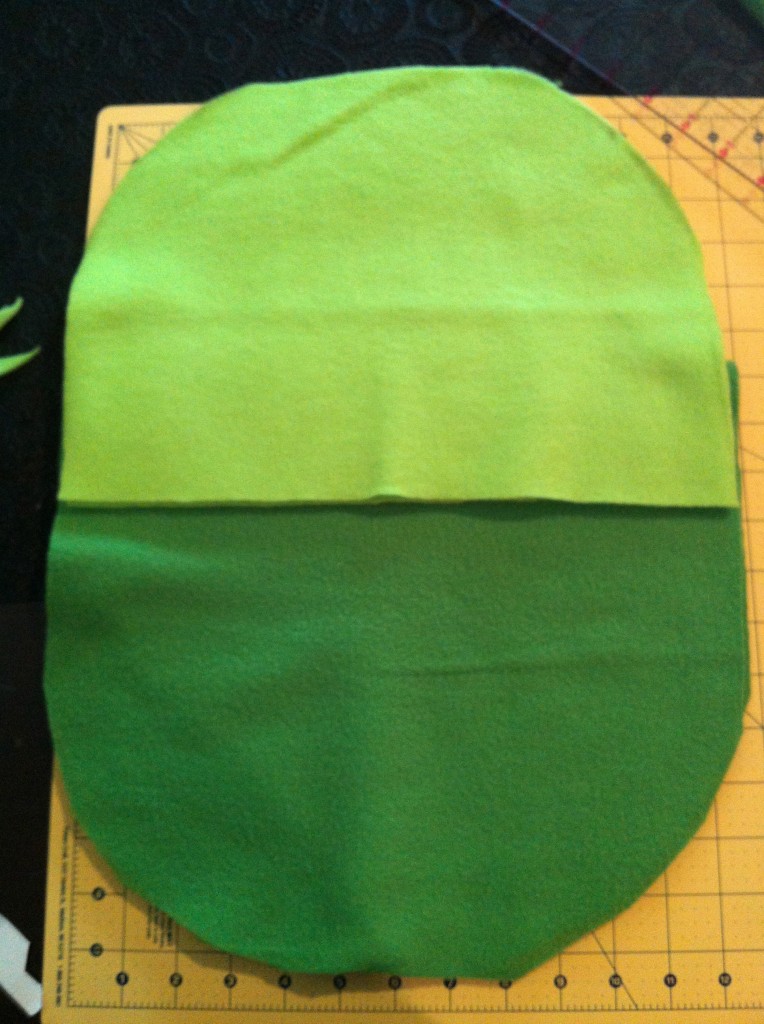 Take one of the light green pieces and fold the edge and sew it down. Remember to only sew the light green piece. You are not sewing the light and dark green pieces together for the front since we will have a functional button. The button will eventually go through this part of the backpack.
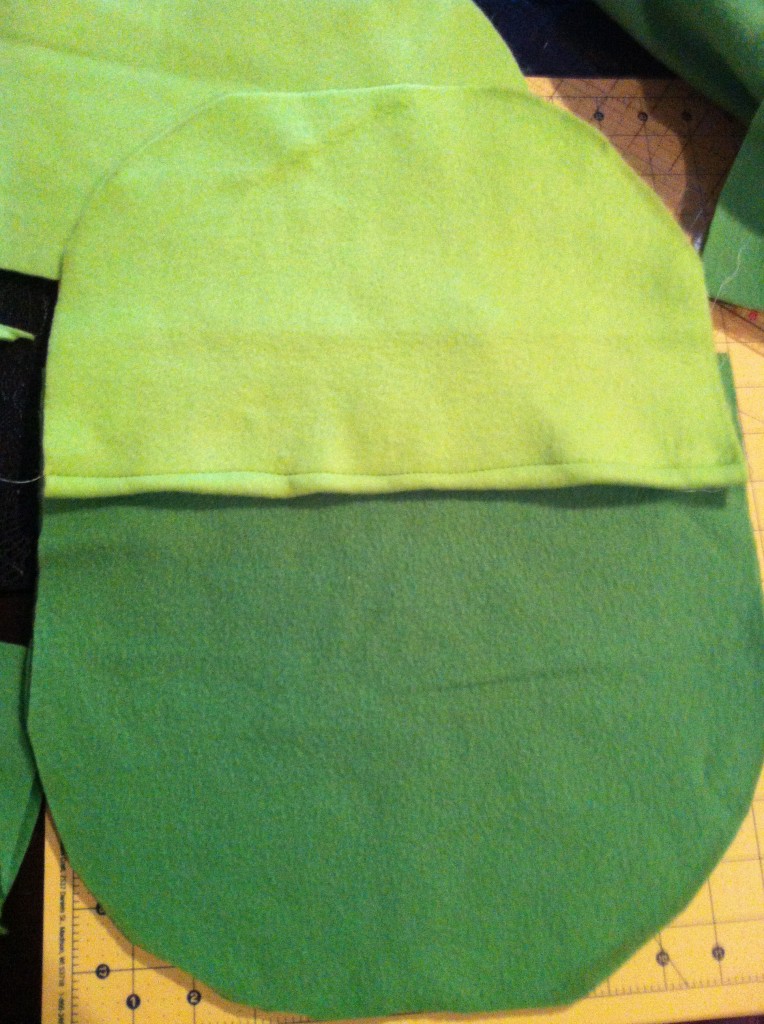
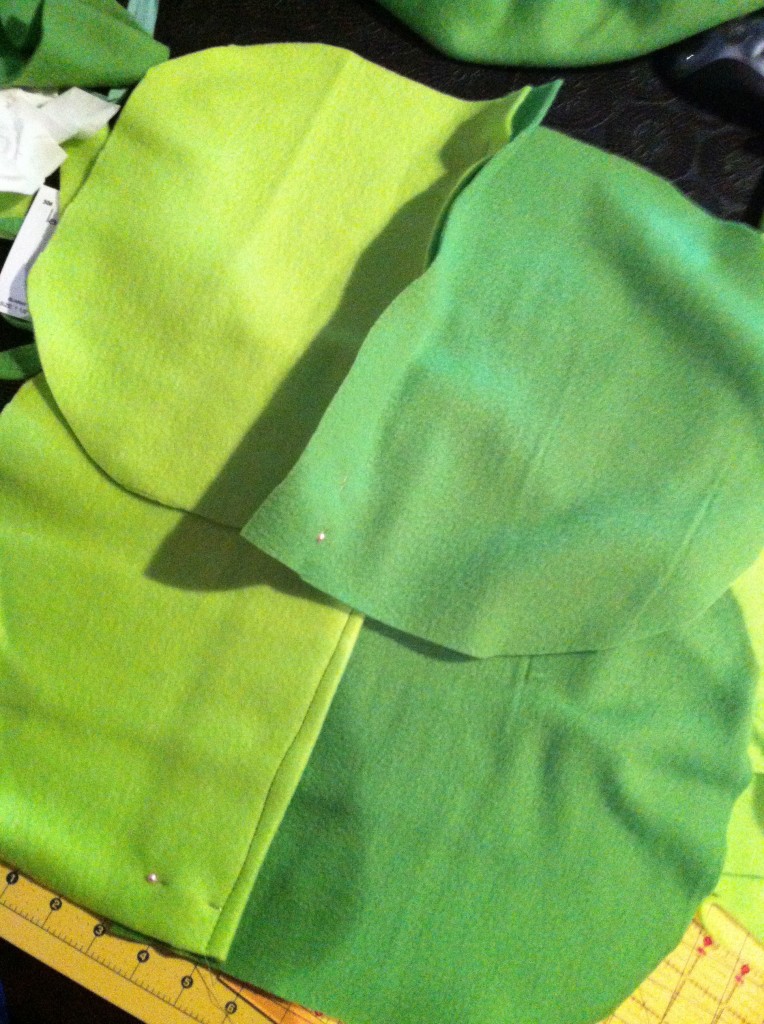
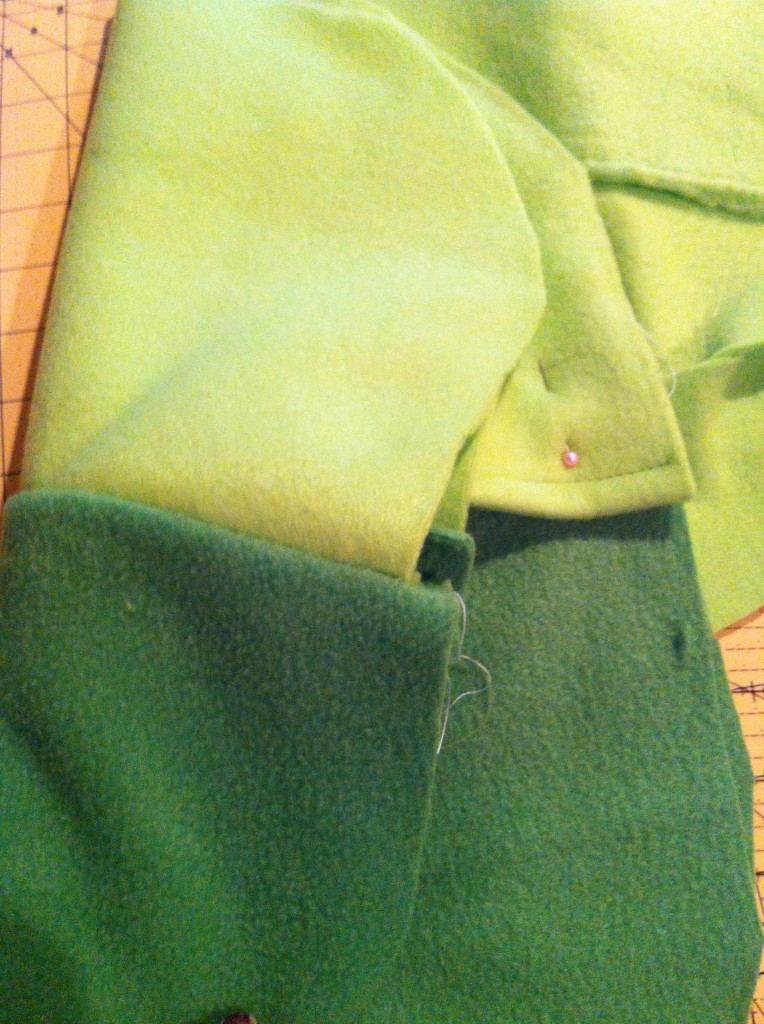
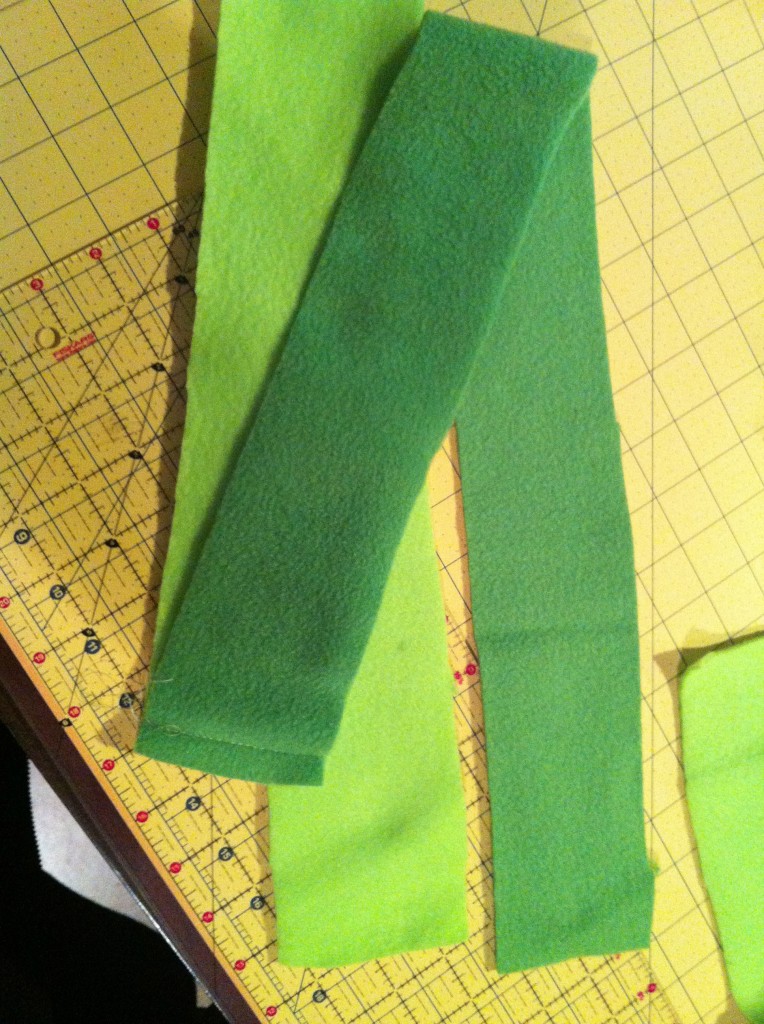
Match the part where the light and dark green meet to the same place where they meet on the front part of the bag. Start pinning from here and go all the way around the bag. When you reach the opposite end, pin and sew the other end of the strips together and make sure the part where the light/green colors meet all match up. Sew all the way around the edge of the oval shape.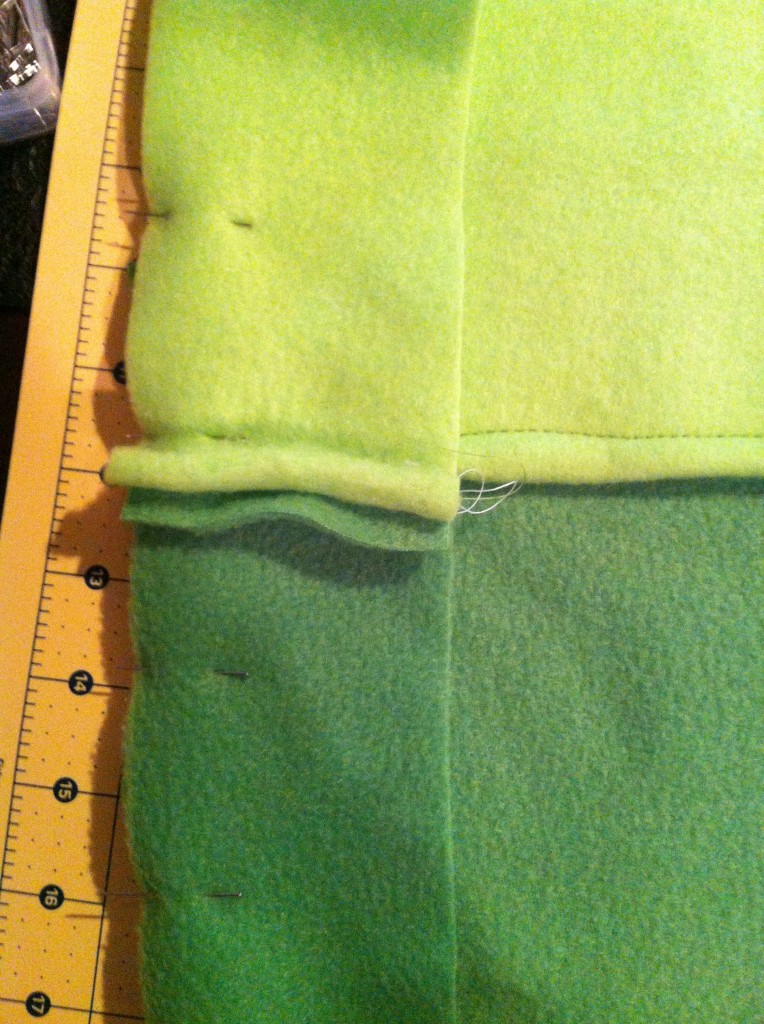
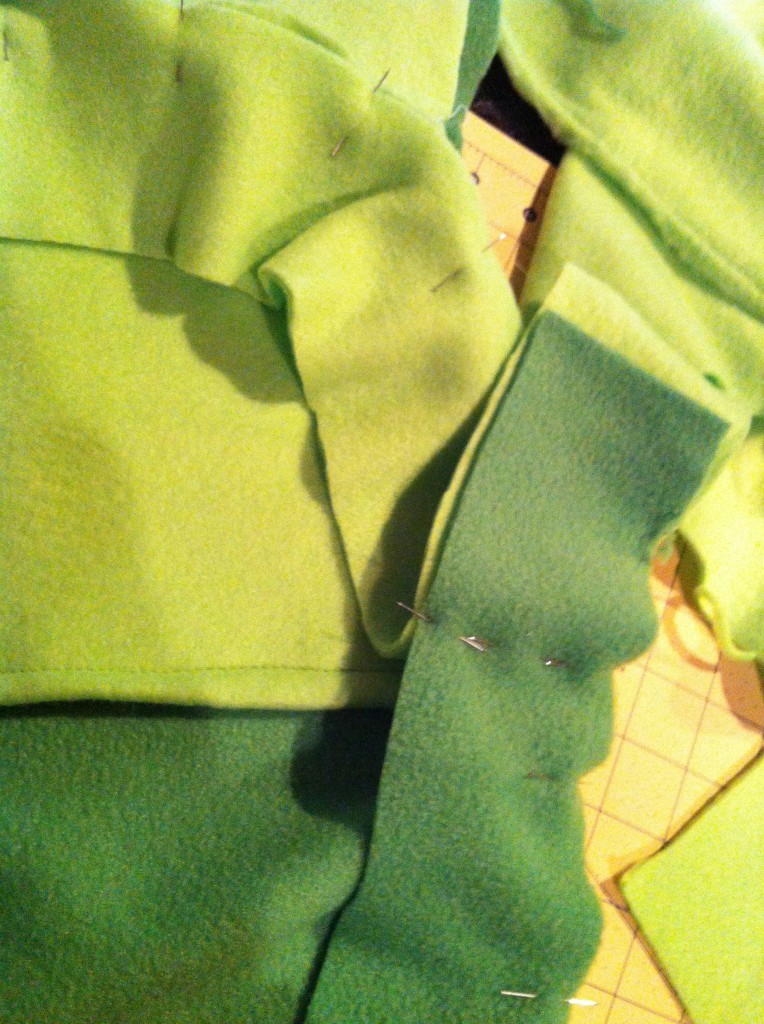
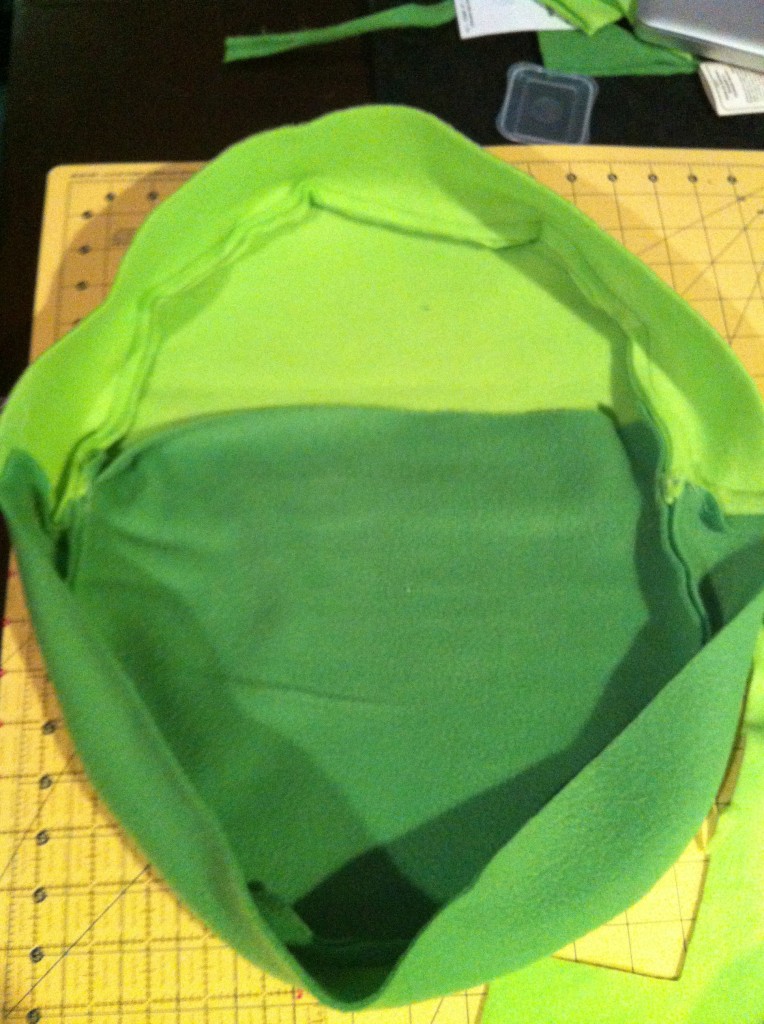
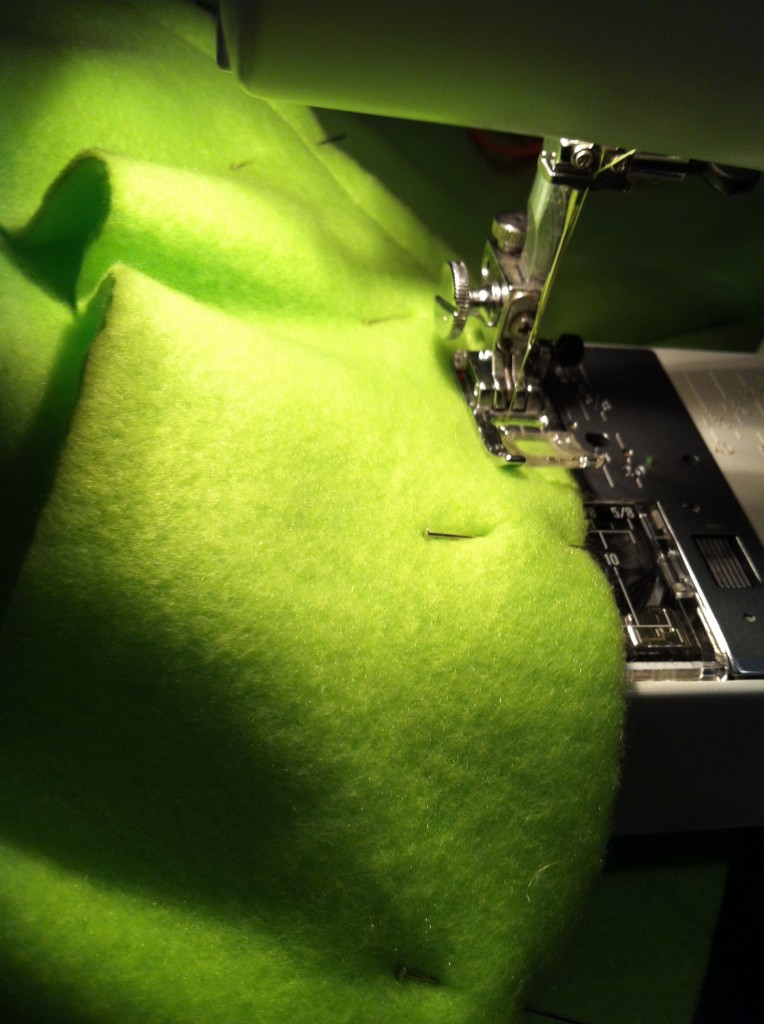 You should end up with something like this.
Before you sew on the other side of the backpack, you’ll want to sew the straps on it first. To do this, cut two light green strips 12″ x 5″ and two dark green strips 12″ x 5″. Sew each light green strip to the dark green strip. Fold in half the long way and sew it closed. Then flip them inside out. You should end up with two of these suckers.
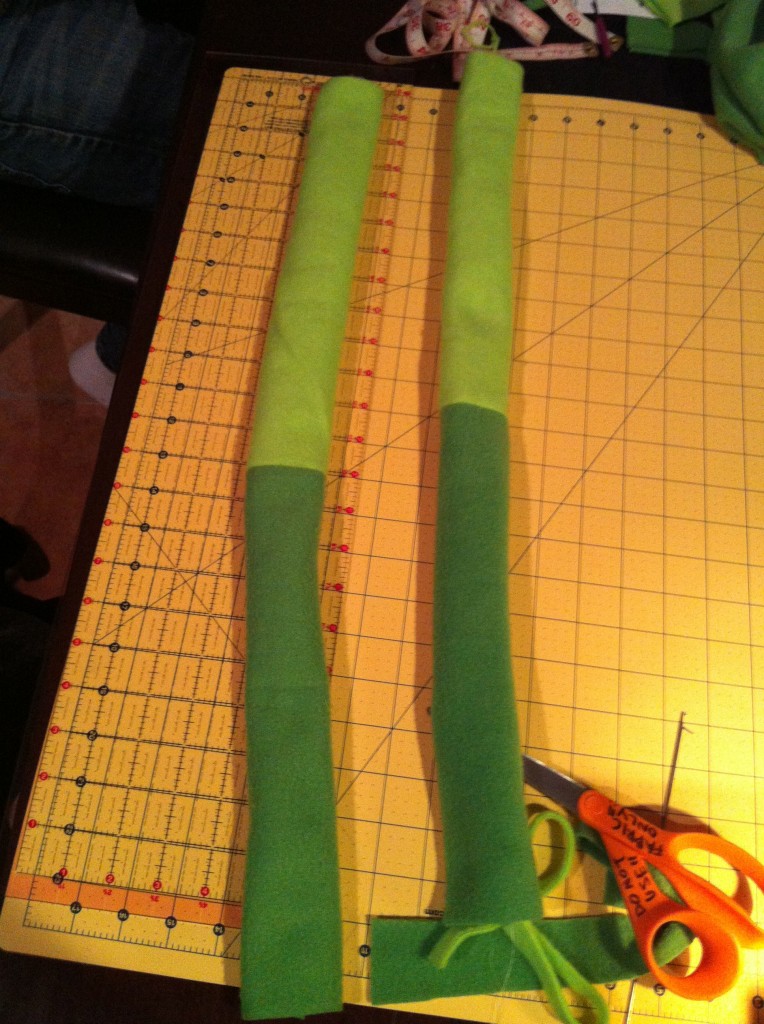
Now pin them to the right side of the back piece of the backpack. I decided to fold the ends of each strap so that it had a clean edge. Once pinned on the back piece, make sure to try them on to make sure they are positioned properly. Once they’re pinned down, sew a small rectangle to hold them in place. This part is optional, but I reinforced the straps with a zig-zag stitch as well.
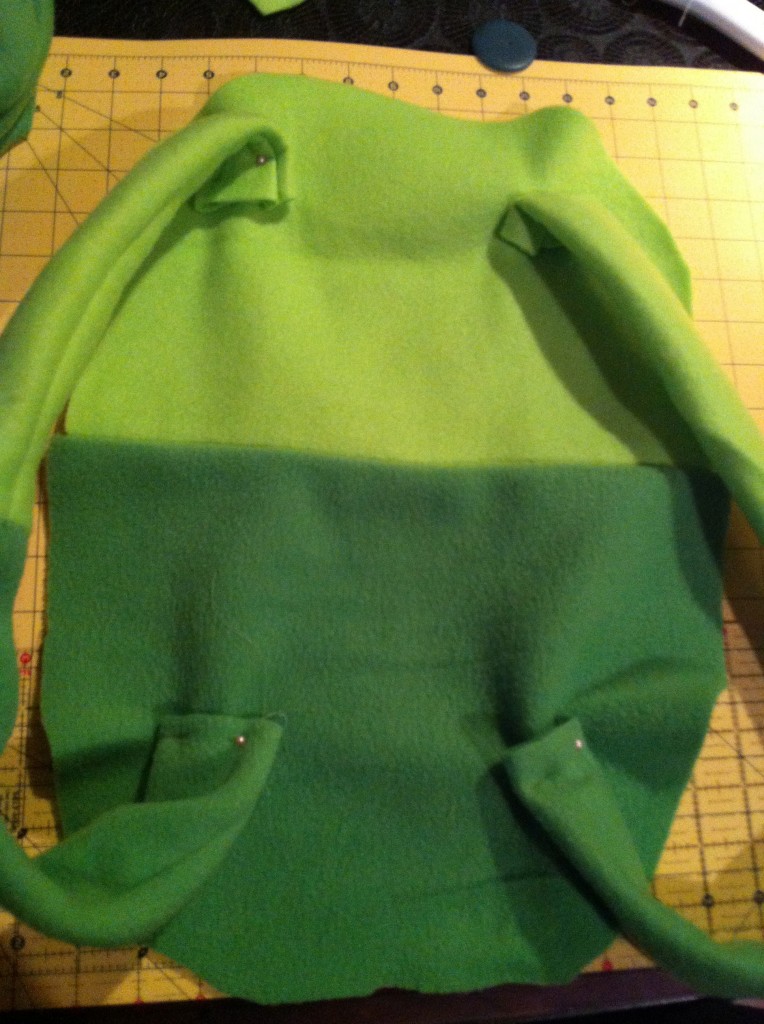
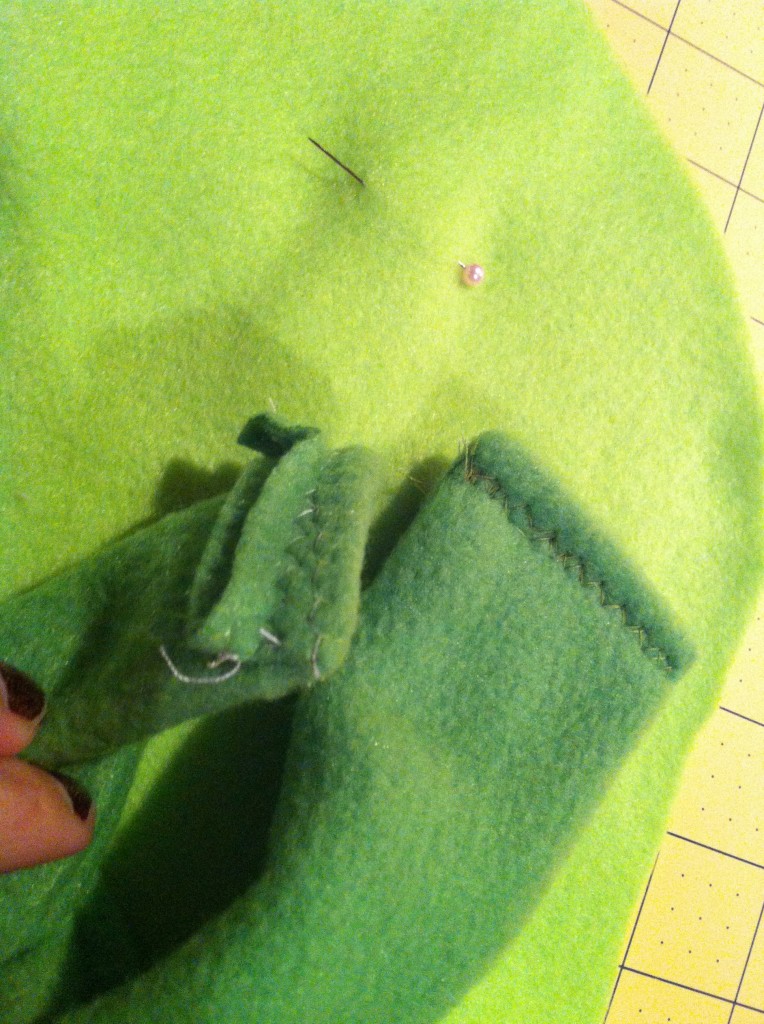
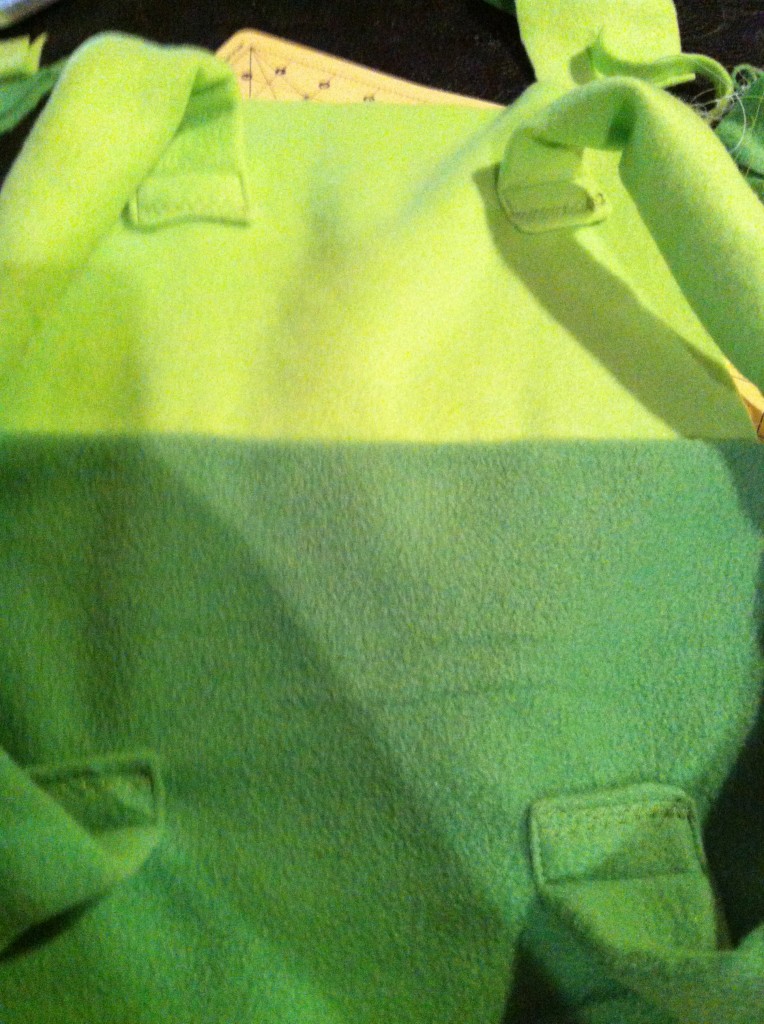
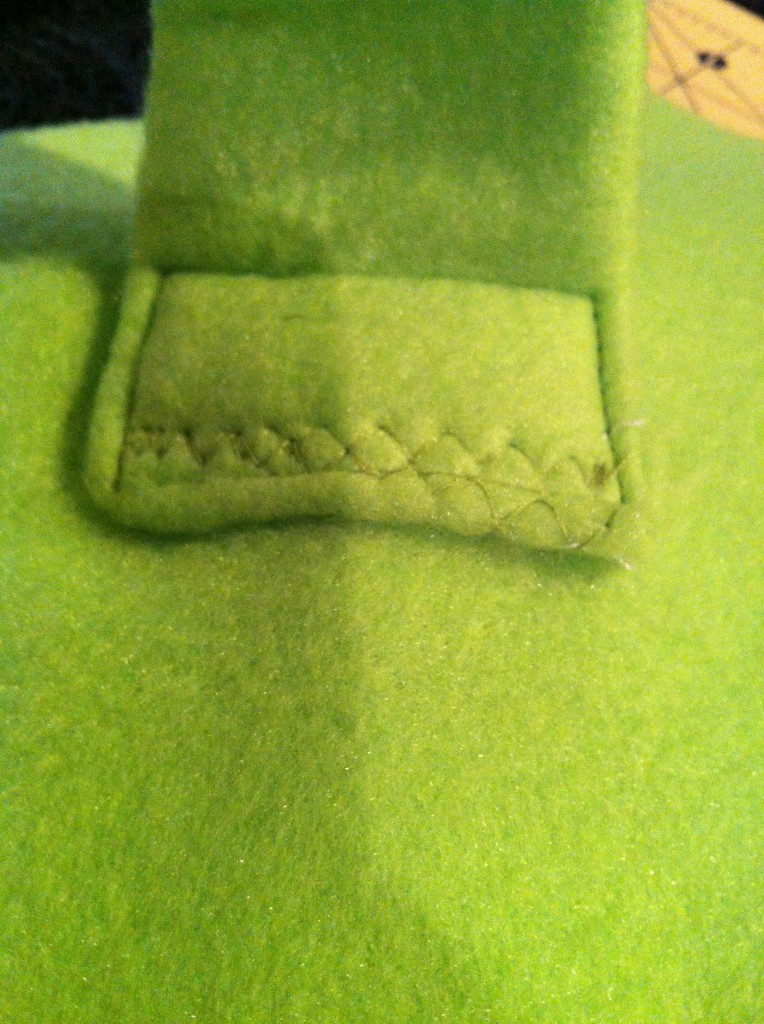
Now you’re ready to pin everything together! Make sure all the edges line up correctly!
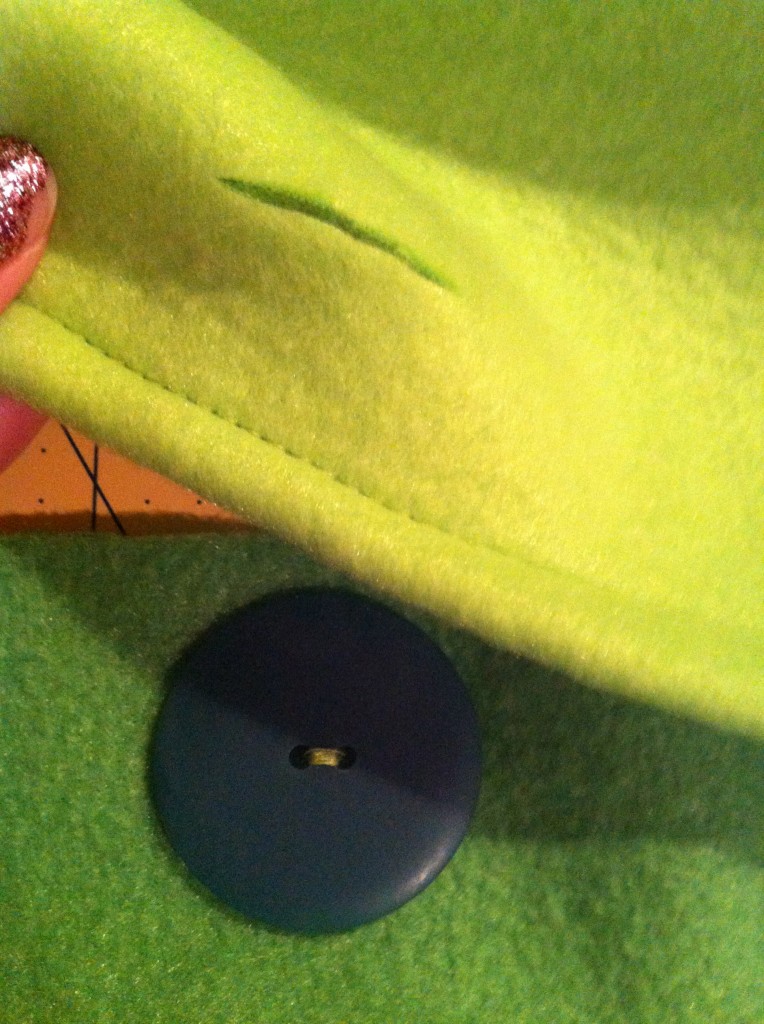
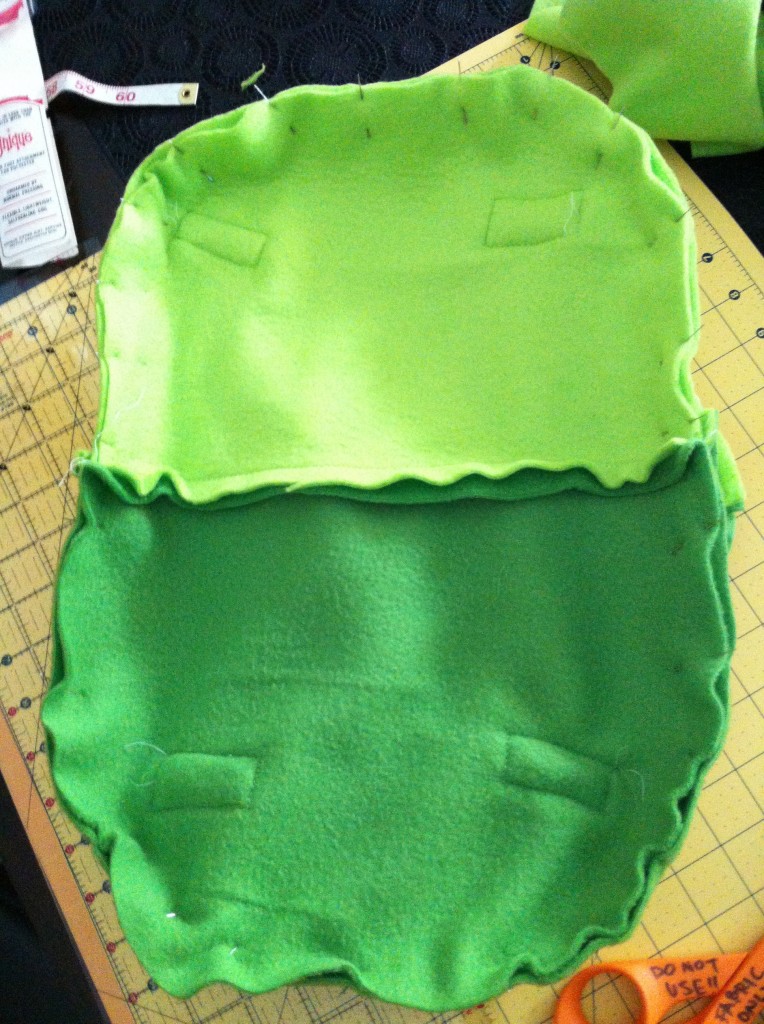 Flip inside out using the front opening and position your button. Sew this on the darker green park and cut a small hole for the button to go through on the light green piece.
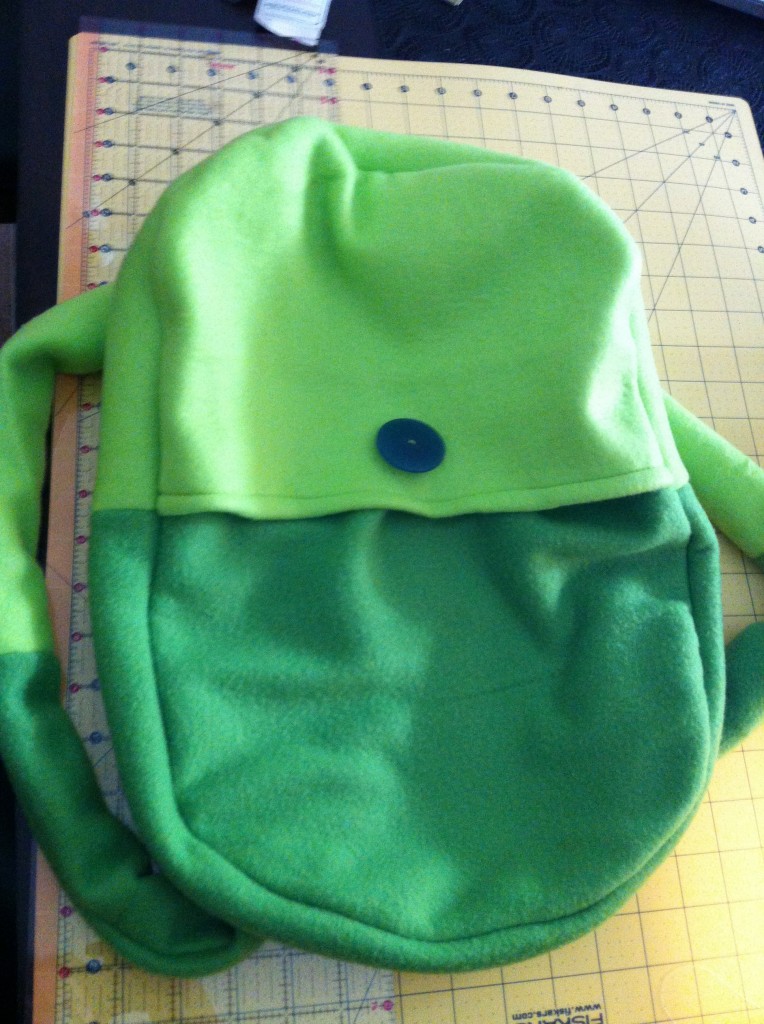
 Algebraic!! You’re done!
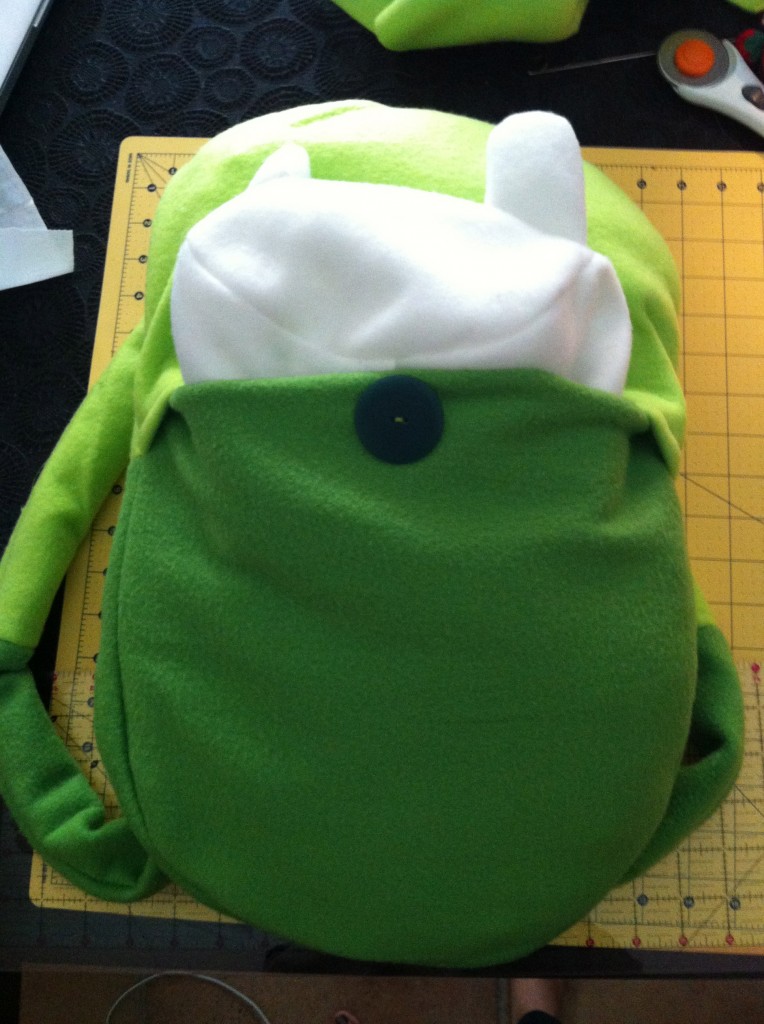
Now you can stuff it with clothes, pillows or whatever other goodies you want!
53 Comments
Emily
Omigosh!! This is totally mathematical! I’ve been looking for a pattern that makes sense for ages! I’m making a Fiona costume and I needed the backpack pattern. Thank you so much! I can’t wait to get started on mine!! :D
Anonymous
Oh My Gosh me to
fionnaaaaa
Wow me too! I’m cosplaying Fionna in 2 weeks! So glad I found this tutorial! :D
kat
how did u put together the part where the button is going to be?
Kalyn
So is this good for a sophomore in high school or would it break to easily?
emilyo
It’s made of fleece, so I wouldn’t recommend putting anything too heavy in it. Maybe you could alter it by using a thicker fabric or adding support to the base?
Suzy
I just made his backpack for my 11 year old granddaughter for Halloween! Your instructing were clear and it took less than 3 hours! And I haven’t sewn in years!!! I even added a sheath between the straps on the back for her sword. Thank you soooo much! She is happy, happy, happy. Hasn’t taken it off for hours!!!
emilyo
That’s awesome!
Jake Lutz
Hey ,like Kayln, I wanted to be using this mathematical pack for school. What kind of material would you recommend?
-Jake
emilyo
Maybe you can find a green canvas type of print. Or buy a thicker white fabric and dye it?
Anonymous
Thank you! I used this tutorial to make a backpack for my son and it turned out great. Thanks for posting this! :)
emilyo
That’s great! Glad it was helpful!
Anonymous
It would be more helpful to have exact measurements for this backpack (e.g. how much of an edge do you leave on the light green flap for the button, and how much of an edge for the edges and straps of the backpack). Also, the part where you line up the light and dark green pieces gets confusing…maybe change the wording and add in where/when/how much you sew the light/dark green pieces together for the back of the backpack. I like this pattern the best for Finns backpack but I highly recommend making the instructions more user-friendly for new seamstresses.
Thanks for the instructions.
emilyo
Thanks for the feedback!
Heather
My 13 year old son is dressing as Finn for Halloween and had to have the backpack – of course! We already had the hat, so I started looking around for a DIY pattern. Yours was easy to follow, and in one afternoon I have a happy son and an awesome backpack! And best of all, the fleece was on sale and I already had thread and a button so it cost less than $4. Thank you!
emilyo
Awesome!!
Brittany
Thank you for your clear and easy instructions! After googling tons of other tutorials, yours was the clearest and easiest to follow. I made one for my daughter this afternoon for her Fionna costume.
emilyo
That’s great! Glad it was helpful.
Holly
I just made this and it turned out perfect! I seriously can’t believe how good it looks, especially since it’s functional. You’ve help make my Fionna dreams come true. Thanks!
emilyo
that’s awesome!
Erin
Used your great step by step instructions to make a mini version for my 3month old son for halloween, thanks!
emilyo
no problem. Thanks for visiting!
momof5
Great tutorial–thank you for helping me earn the admiration and appreciation of my 12-year-old Finn!! I ran out last night and bought the fabric, and with your great directions and detailed pictures, was able to whip up the backpack this afternoon. Thank you!
emilyo
That’s great! Glad it was helpful. :)
Allison S.
Your instructions were amazing, other tutorials I was trying were so unclear. Thank you so much :D now my Fionna costume is complete!
emilyo
That’s great!! Definitely share on my FB page if you get a chance. :)
Alicia Garza
Thanks for the tutorial. I made a backpack for my 9 year old son. It was easy with your instructions. He was soooo happy when I finished it. He was able to dress up for school, so he went as Finn, and he received many compliments for the backpack. Thanks once again!
emilyo
You’re welcome!
Jake Lutz
Hey Emilyo, it’s Jake again. I made my backpack and it’s totes math but there’s a problem. Since I am using it for school (It works great) I used interface and doubled up the fleece. Instead of using a button for the opening I used an invisible zipper.(The button opening would have stretched overtime) Something that isn’t so math is the zipper. It gets stuck a lot because of the thickness of the fabric. I was hoping that you could suggest a way to fix my prob.
Thanks,
-Jake
emilyo
It’s probably getting stuck b/c it’s an invisible zipper. I would suggest replacing it with one of those thicker plastic ones. It will be visible, but probably save you the hassle of it getting stuck. Good luck!
emilia
Loving the pattern! All my friends are anime mad so this will make great Christmas presents for them all. Shame I didn’t see the pattern before comic con London but Im sure they will all love them and wear them for comic con in may, which I will also be going to. Any suggestions to how I could personalise each one so they all have unique bags?
emilyo
Hm, embroidery would look cool, but if not, you could always just glue or sew on some fleece or felt letters!
emilia
Great ideas, thanks. I think I will embroider their initials on the shoulder straps
Acorn
will this fit my binder for school if i use corduroy fabric?
emilyo
It might, but only a thin binder I’m thinking. You can always make the fabric cuts bigger and then size down as needed.
Paige B
Thank you so much for this pattern! Im going as Fionna for Sac-anime and my backpack turned out great. :)
Sam
This really is mathematical. Some friends and I are dressing as the Adventure Time cast for Halloween and I wanted my brother to be Finn. I went searching for a ton of DIY instructions for the backpack and yours was by far the best. Thanks for posting the tutorial.
emilyo
That’s awesome! Glad it was helpful!
Anonymous
Thank you so much for this tutorial! I am cosplaying Finn during a convention in two months, so this comes in really handy. :)
Anonymous
I am so not a sewer, but thank you so much. I am making this for my son for book week. He is going to love it
T
Thank you so much. I am not a sewer and I have managed to hand sew this whole thing. My son is going as Finn to a book week dress up this week.
Anonymous
I had zero experience in sewing but I made Finn’s backpack with ease thanks to this tutorial! I hand-stitched it since I’m not really good at stitching curves with a sewing machine… The backpack turned out beautiful just the same and fits perfectly! Thank you for helping me perfect my Fionna cosplay :D
emilyo
Awesome!
Chelsea
Hi, I love this idea and I think it’s algebraic! But I’m just wondering, the measurements you put for each one, do we cut exactly those or add an extra centimetre of seamline?
emilyo
The measurements should be exact, but again, it depends on your head size. I have a pretty average head and am tall so these measurements worked for me.
Sarah
So I was super excited about this when I found it, but despite triple checking my measurements, it still ended up being extremely long and narrow after I constructed and sewed it together. Before I started sewing I had a feeling this would be too long, so I even trimmed it by about 3 inches. The only difference is that since I was using a thinner flanel-like fabric instead of fleece because I had about a day to make this and didn’t have time to go to an actual fabric store, so I was working with what WalMart had. Not the best materials, but it shouldn’t have altered the results THAT much…should it? The only reason I ask is because I plan on making a better one in the future with better materials, and I want to make sure I did everything I could.
All in all though, still a good tutorial. I will say I had to spend a few minutes deciphering the instructions, but once I got it figured out it took less than 3 hours to sew. Thanks!
John C
We just made this today. Realatively easy. We have very little sewing experience and was able to make this in a couple hours
emilyo
That’s great!
Jeff G.
Great tutorial! I found this very very helpful since my girlfriend is a big fan of Adventure Time and I was thinking of something to give her for Christmas. I though of giving her a Jake stuffed toy but I think it’s too cliche and there would be less effort :3 Soooooooo I googled for an alternative and luckily I found your website :))
Sooo thanks a lot for helping me make my girlfriend happy this Christmas :))
emilyo
aw, that’s so sweet!! hope she loves it!
americasuits
very exciting will be perfect with the Finn Jacket
Ike
You need …more than half a foot of fabric of each color, now I’m screwed over and I don’t have enough
emilyo
Thanks for the feedback. No one has ever mentioned that, but I updated the instructions to 1 yard of each color to ensure enough fabric.