DIY Comic Strip Nails Tutorial
http://uslanka.net//uslanka.net/wp-content/themes/braxton/js/stickyMojo.js  I’ve been seeing a lot of funky DIY nails all over the web and I thought I had seen it all until my friend showed newspaper print nails. Pretty cool idea, right? Anyhow, this gave me the idea to try it with comic books! Unfortunately after some trial and error and sacrificing one old comic book from the late ’80s (it was a piece of crap anyways), I found out that this bizarre trick only works with newspaper even though you would think that old comic books might have been printed in a similar fashion. So I went for the next best thing – Sunday comic strips. My local paper’s strips were pretty limited (they didn’t even have Fox Trot!!) so I settled for something equally lovable – Peanuts. With that, here’s a quick tutorial of how to create your very own comic strip nails!
You will need a few things:
- A light colored nail polish – I went with white, but opal, mint green, light pink would also work!
- Clear top coat nail polish
- A few comic strips – you could even try crossword puzzles, sudoku, really anything cool you find in the paper!
- A glass bowl
- Rubbing alcohol
- Nail polish remover in case of mess ups
Instructions:
- Prepare a small amount of alcohol into the glass bowl
- Cut your comics into small pieces. You’re going to dip these into the alcohol when you’re ready and you want to have them prepared so that you’re not dealing with large pieces of paper.
- Paint one hand with your base coat. For some reason, I believe the print stays better right after the base coat dries, so you should do one hand at a time. The coat should be dry to the touch, but don’t wait too long.
- Take your comic strip, dip it in the alcohol and then press the image that you want onto the nail. Hold firmly for a good 10 seconds. You don’t have to soak the newspaper in the alcohol, just make sure it’s been submerged.
- Lift the paper and you should see the image printed on the nail.
- Repeat for all fingers and apply the clear top coat.
If for some reason, you’re finding that it’s not transferring very well on the nail, try pressing the print on at an earlier state before your nail is hard and dry. Also, some base coats don’t handle the print very well. For example, the flat white I used worked a lot better than the shimmery opal. This process took me a few tries to get the images just right so don’t worry if it looks messy the first time. Just remember, you will have a pretty cool conversation piece once you get it right! Good luck!


You May Also Like

Geek Chic DIY: How to Turn a Giant Shirt into a Peplum Top
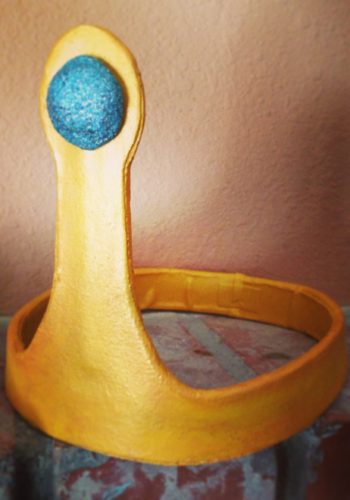
Cosplay Tutorial – Princess Bubblegum’s Crown