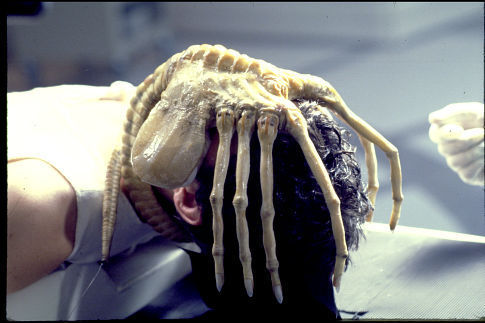
This year I was inspired to make an Aliens themed pumpkin. I was too chicken to watch the Alien movies when I was a kid so the first time I actually watched these movies was in high school. I recently decided to watch Alien and Aliens again and realized how much I enjoyed these movies. So with that, I decided to make a Facehugger pumpkin.
For those who have no idea where to start caving a 3D pumpkin, I wanted to provide some tips from an amateur pumpkin carver. This is now my 3rd 3D pumpkin and I *think* I have improved a little every year. And it may be obvious, but I have very little experience in sculpting, which is probably why I love the challenge of carving pumpkins!
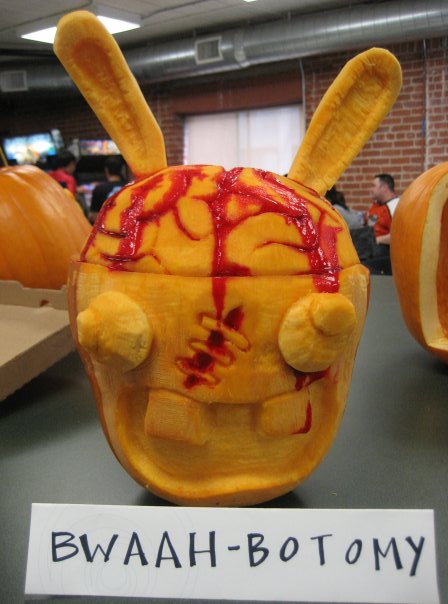
Here is my very first “3D” style pumpkin. Not truly 3D, but I really liked the brain.
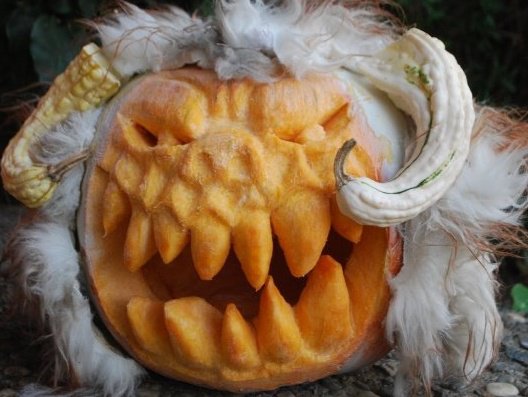
I was trying to go for something a little scarier my 2nd year, but it turned out more comical I think. This is a Wampa from Star Wars. Hair is courtesy of a stuffed dog toy.
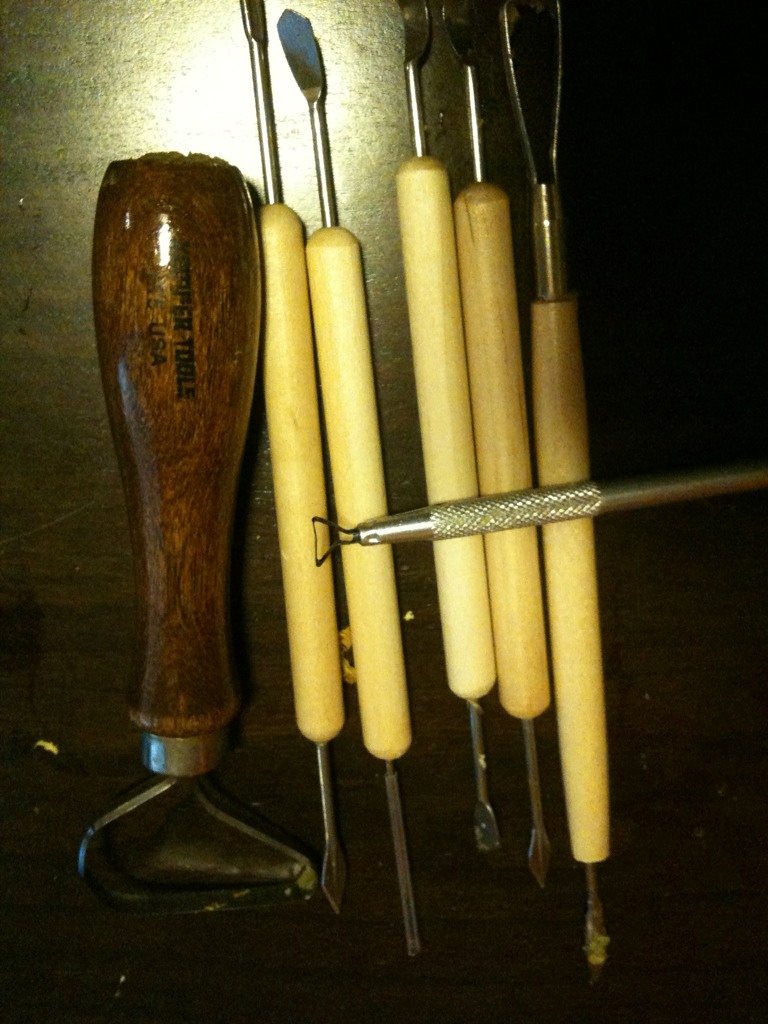
So on to carving 3D pumpkins… I have no idea how to choose a good pumpkin so I won’t even go into that. I did read that you want a heavy one, but aren’t all pumpkins heavy? I would just say to make sure you go to an art store or preferably a clay store and pick up some good tools.
The fat triangular one is good for scraping the skin. But since I bought it on my 2nd day of carving, it was too late anyways. I mostly use a good cheese grater to get all the skin off. It’s messy, but it works. Other than that, you need a small and medium loop tool to do most of the carving.
So once I had a design in my head, I started mapping out what areas to carve. Here, I knew that the human head needed to be the deeper part so I just started carving out some sections. The dark parts w/the skin on are going to be the Facehugger’s fingers.
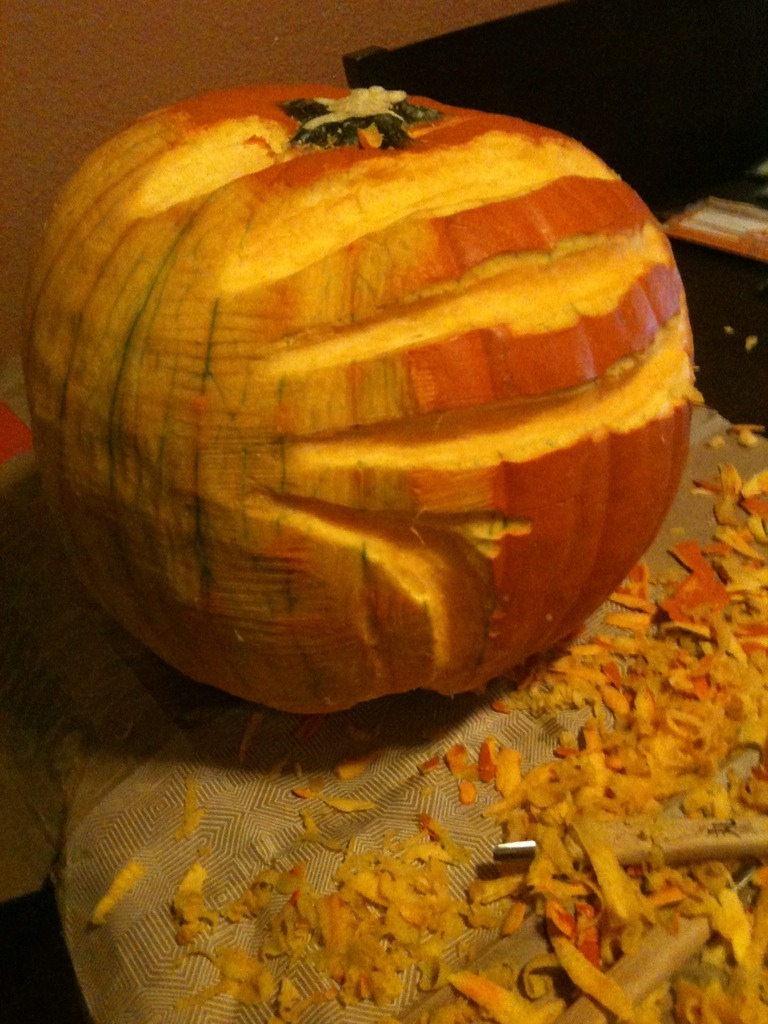
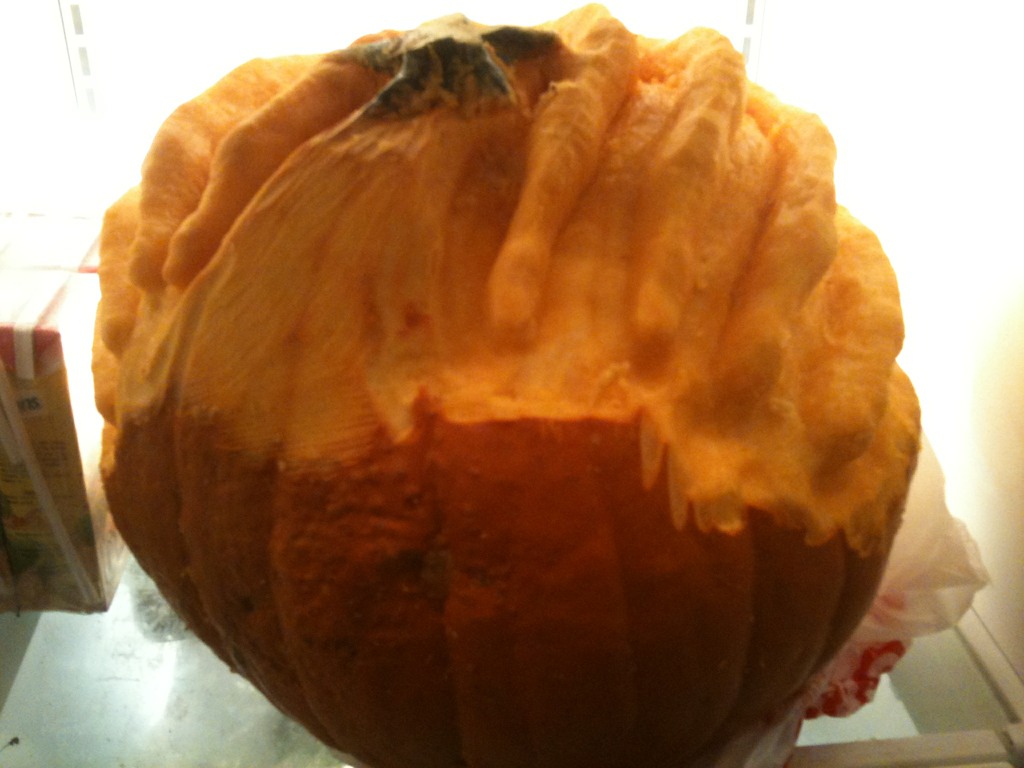
Then I started detailing the fingers, one by one. I don’t think I ever want to carve anything with 8 fingers again. :( Since you have to be careful not to take too much off, I started with fat fingers and then shaved off little by little until I got the shape that I wanted. Here are the first 4 fingers.
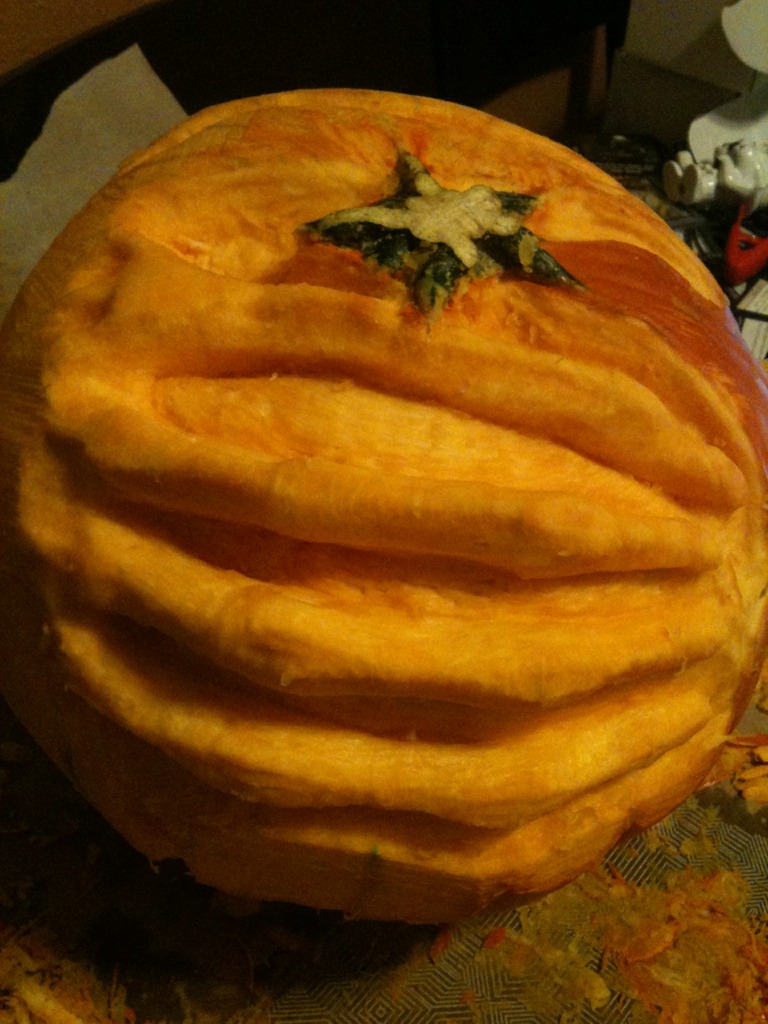 I finished up the rest of the fingers and decided to do the body on Day 2. By that time, I had done about 4-5 hours of carving and my arm/back/neck was starting to hurt. lol. I would love to prank someone with this in their fridge though…
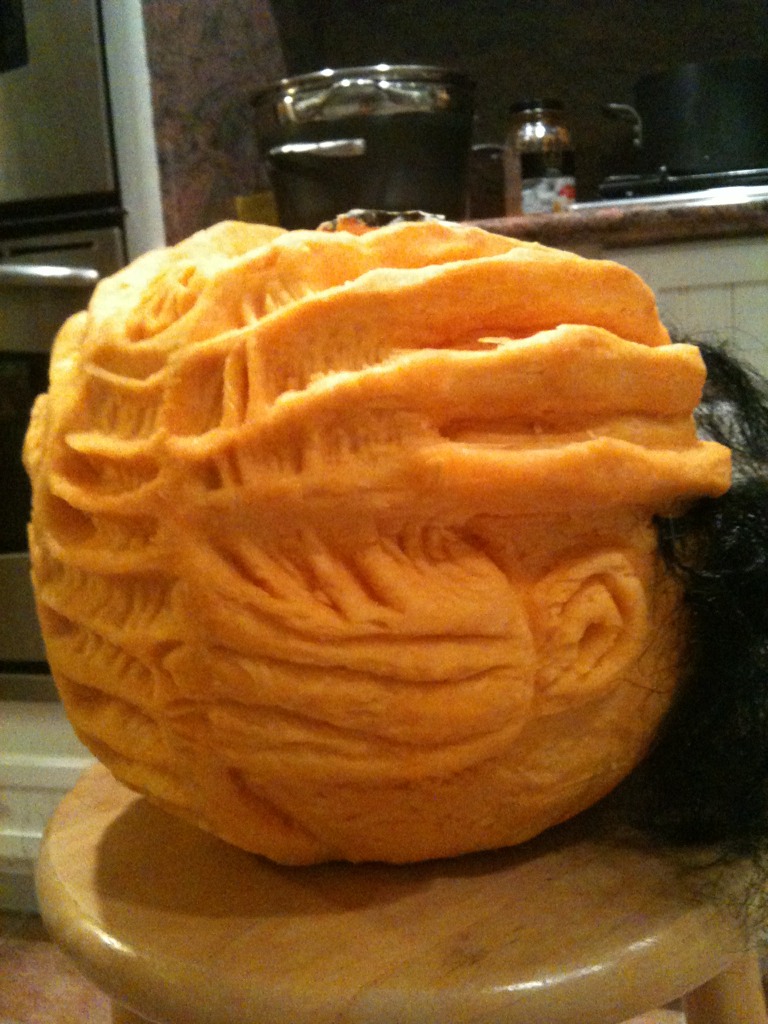
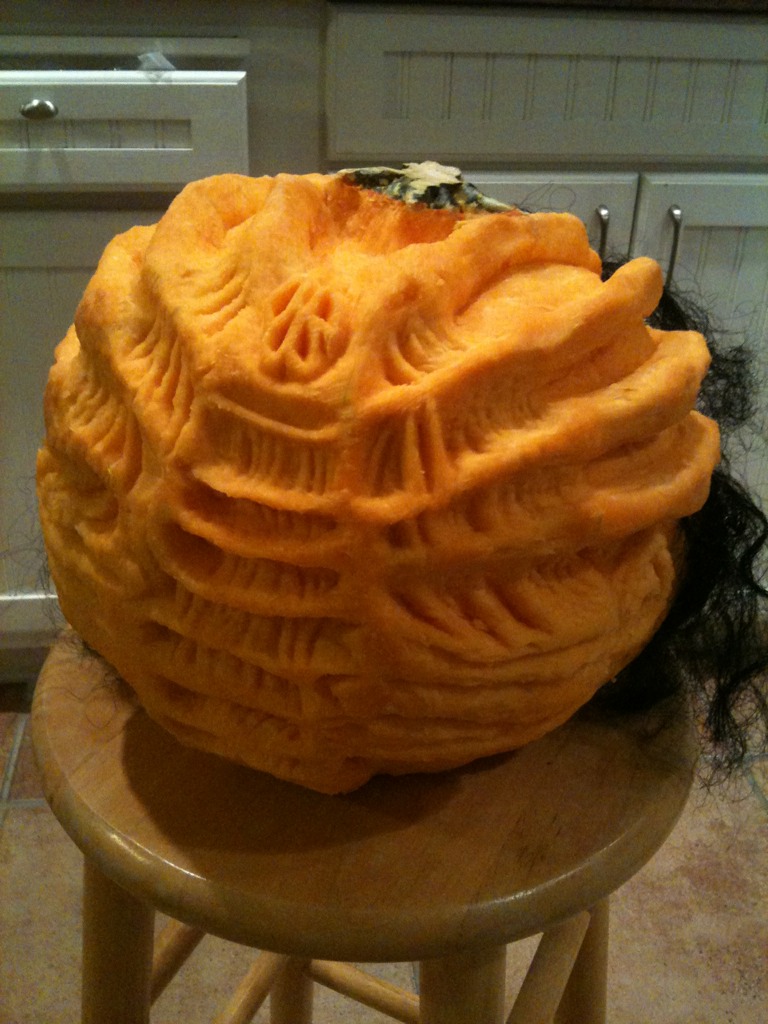
Day 2 was finishing the rest of the body which I didn’t think would be as tough as the fingers. I decided to buy some proper carving tools (especially the small metal one in the pic) and that was basically all I used for the rest of the Facehugger body. Digging deep is key to making the details stand out. This ended up taking another 2-3 hours (while watching the World Series on the side). Go Giants!
The biggest challenge I faced was making this look like someone’s head. I guess this was a bad choice of pumpkin shape, but at the time I didn’t know what I was making! Anyhow, I figured I would have to carve some ears and maybe even add hair to make this more like a human head. I ended up taking a really cheap wig and cutting strips of hair out. Then I stapled it in rows to the pumpkin. I guess this guy is kinda balding. Oh well, he’s dead anyways.
And basically that’s the finished product! A little ridiculous looking, but I am fairly happy with the results.

 Then I started detailing the fingers, one by one. I don’t think I ever want to carve anything with 8 fingers again. :( Since you have to be careful not to take too much off, I started with fat fingers and then shaved off little by little until I got the shape that I wanted. Here are the first 4 fingers.
 I finished up the rest of the fingers and decided to do the body on Day 2. By that time, I had done about 4-5 hours of carving and my arm/back/neck was starting to hurt. lol. I would love to prank someone with this in their fridge though…

One Comment
Pingback: